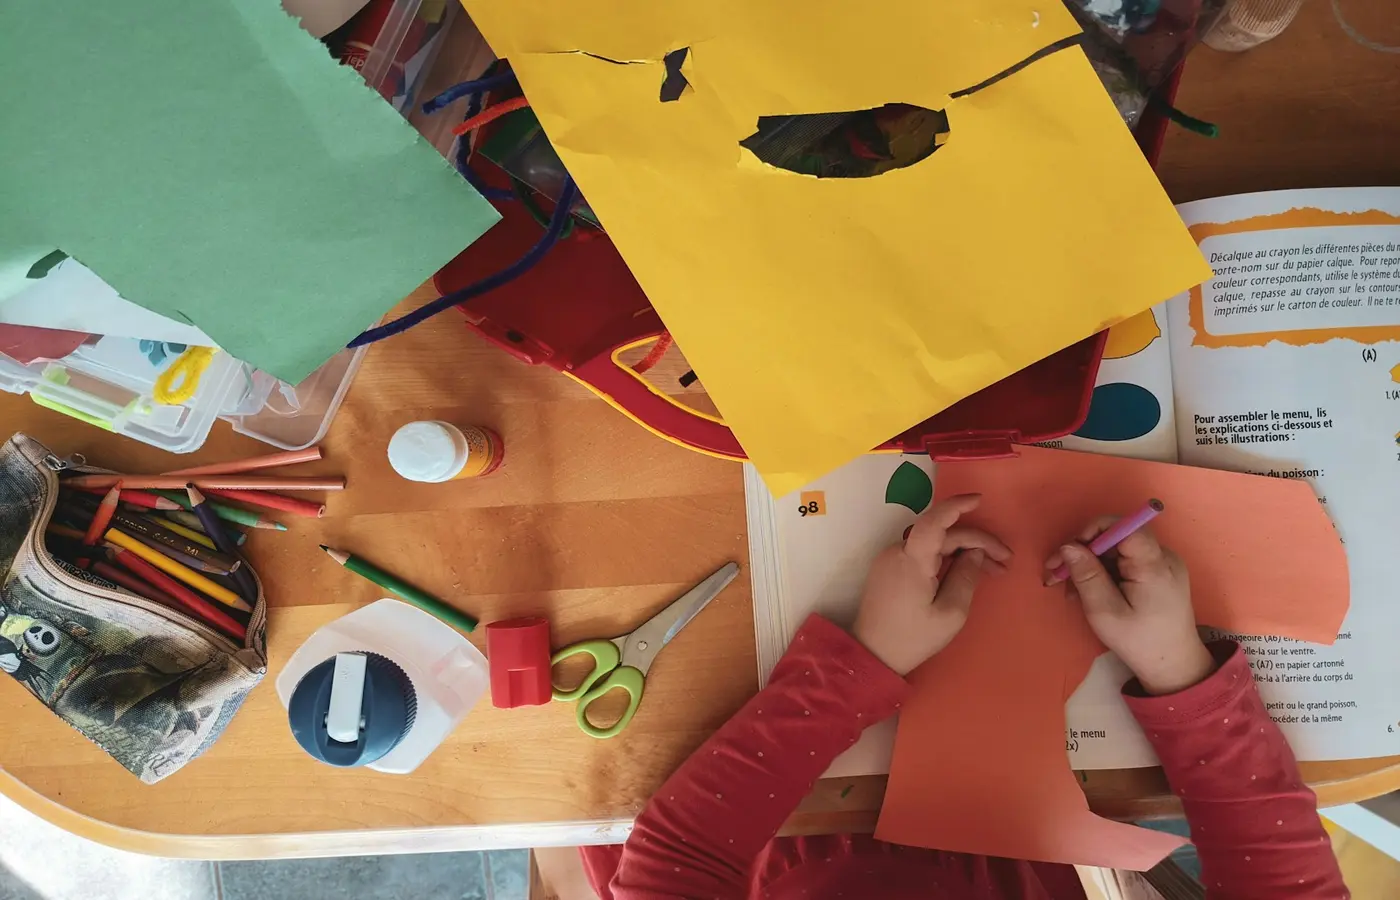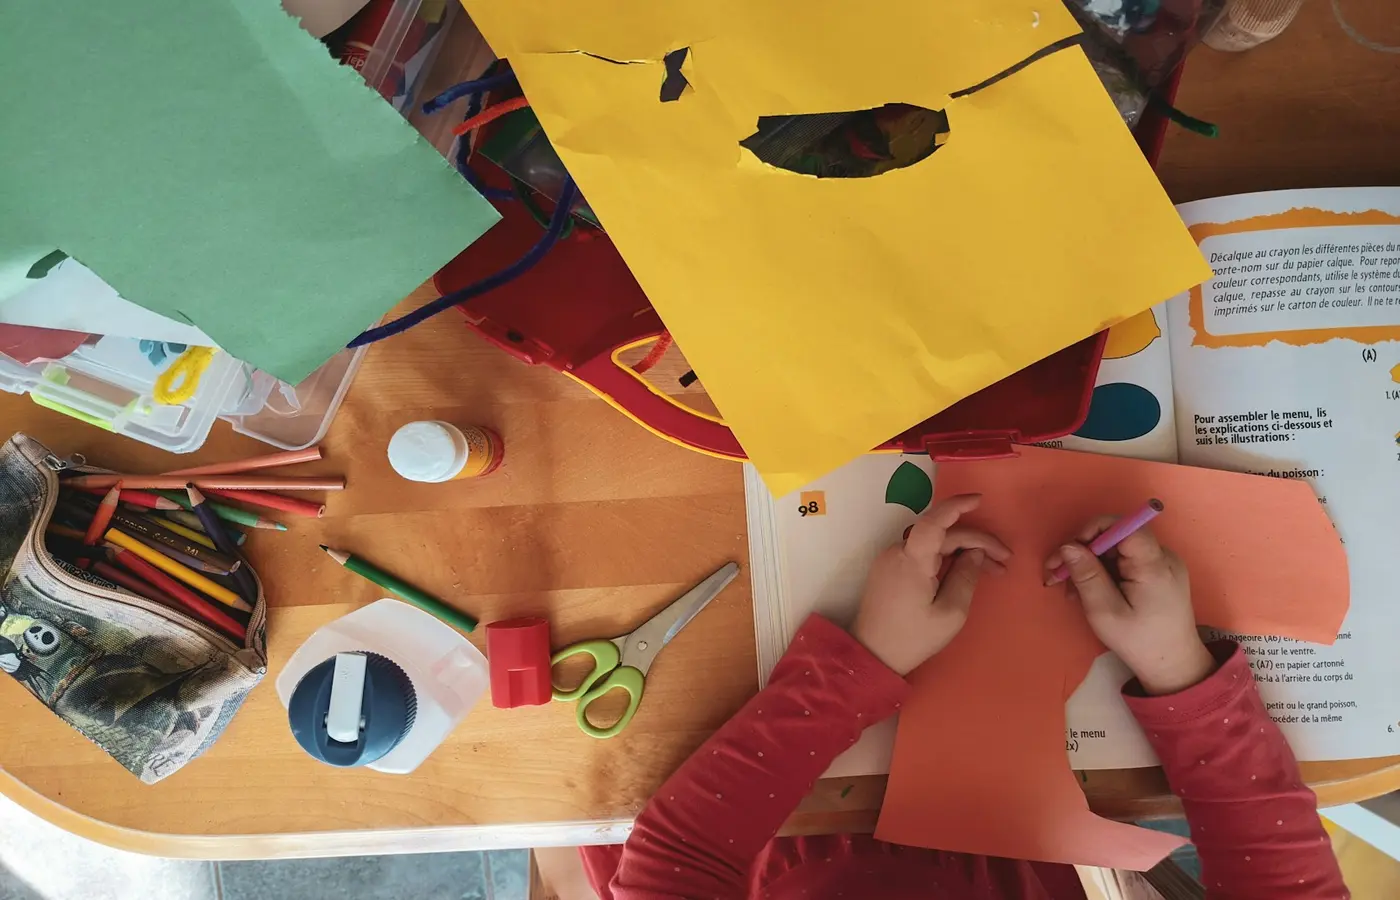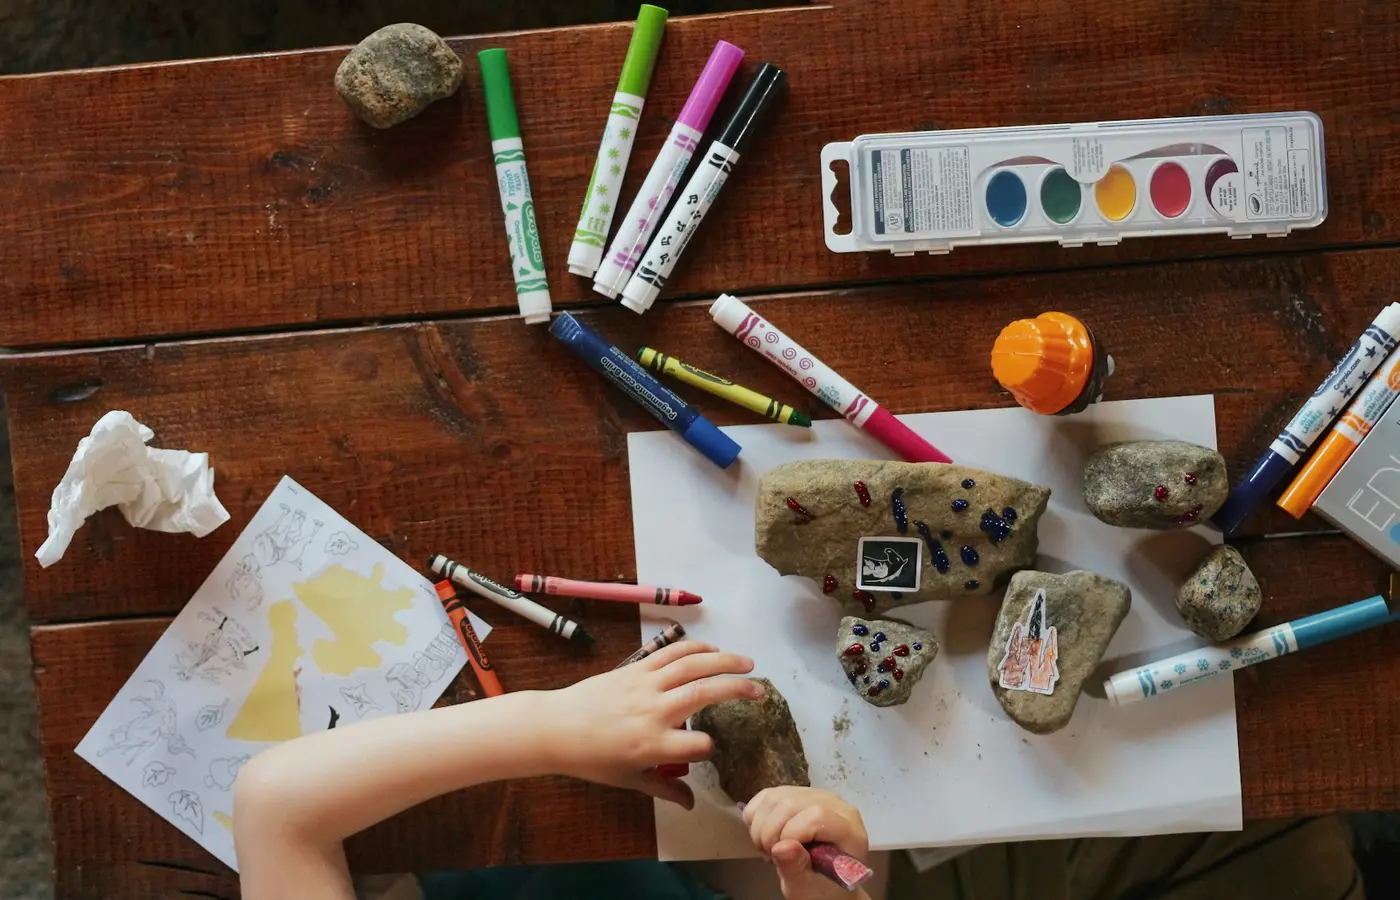
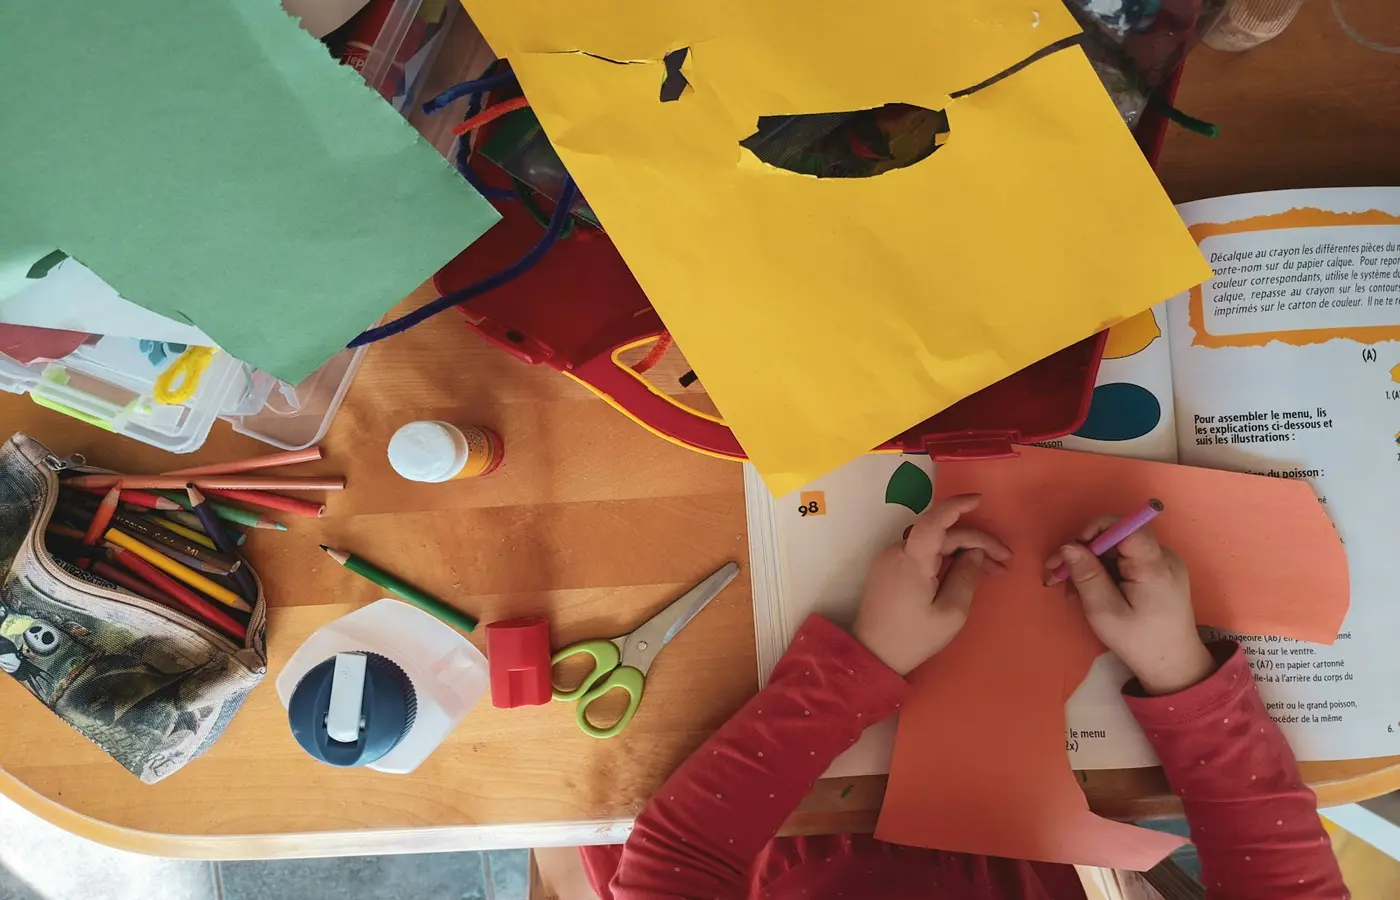
A paper collage, cardboard robot, fabric puppet, and wood model do not need the same glue—or the same level of adult involvement. For most everyday paper crafts, start with a glue stick or a water-based liquid craft glue that the package says is suitable for the child using it.
The important part is the label in your hand. Adhesive formulas, age guidance, cleanup directions, and warnings vary by product and market. Before opening a new bottle, tube, or tool, check its age grade, listed surfaces, directions, and any warnings about ventilation, skin contact, heat, or storage.
A useful rule is simple: choose the mildest adhesive that is documented for the materials you are joining. Save heat-based, solvent-based, and two-part products for adult handling unless the exact product instructions say otherwise and you can follow every precaution.
Start with the project, the child, and the label
It is easy to buy the strongest glue available and discover that it is awkward, smelly, permanent, or far more complicated than a child’s project needs. A collage usually needs paper to stay on paper. A cardboard creature may need pieces held in place while they dry. A costume detail, a wood structure, or a mixed-material model may need a specialty adhesive—but it may also be a good moment for an adult to take over the sticking part.
Before choosing, look at three things.
What are you joining?
Read the product’s listed compatible surfaces rather than assuming that any craft glue will work on every material. Paper, lightweight card, fabric, unfinished wood, plastic, foam, metal, and glossy surfaces can behave differently. A glue that works well for a flat paper shape may not hold a heavy button, a smooth plastic cap, or a piece that will bend repeatedly.
If the package does not list both materials, consider a lower-stakes alternative first:
- Tape for temporary joins or light paper pieces.
- Paper tabs and slots for cardboard constructions.
- Yarn, pipe cleaners, or split pins for pieces that need to move.
- An adult-applied attachment for a difficult detail.
Not every craft problem needs a stronger adhesive.
What can the child comfortably manage?
A child may be ready to press a glue stick across paper but not to control a bottle, wait for a wet layer to dry, or avoid touching a hot tool. Another child may dislike sticky fingers but happily arrange pieces for an adult to attach.
That is not a test of ability. It is a practical observation that helps the project stay focused on making rather than on struggling with the supply.
What does the product specifically say?
Check the package or manufacturer directions for:
- Recommended age or supervision information.
- Suitable materials and surface preparation.
- Application directions, including how much adhesive to use.
- Drying, setting, or curing information.
- Cleanup instructions.
- Warnings about eyes, skin, ingestion, ventilation, heat, flames, or storage.
Terms such as “washable,” “non-toxic,” “water-based,” and “solvent-free” are not interchangeable safety promises. They describe particular features only as defined by that product’s documentation. Do not rely on a broad category label in place of the directions for the exact glue you own.
A quick match for common craft materials
This is a planning guide, not a substitute for product instructions. Use it to narrow your options, then confirm the exact surfaces and safety directions on the package.
| Project material or need | Usually worth considering first | What to check before use | Adult role that may help |
|---|---|---|---|
| Paper collage or greeting card | Glue stick or child-appropriate liquid craft glue | Paper compatibility, age guidance, drying time, cleanup | Open containers, help with caps, set aside a drying area |
| Lightweight cardboard construction | Liquid craft glue, tabs, tape, or an adhesive documented for card | Whether it is intended for cardboard, how long pieces need support | Hold joins in place or use clips if directions allow |
| Fabric decoration or puppet | A fabric adhesive documented for the specific fabric, or sewing/ties | Fabric compatibility, wash instructions, skin-contact warnings | Apply adhesive or choose stitching, tying, or safety pins handled by an adult |
| Wood craft kit | Adhesive specifically documented for wood | Surface preparation, cure time, ventilation and cleanup directions | Apply the adhesive and manage clamps or pressure |
| Mixed-material model | The least intensive option documented for both surfaces | Compatibility with each material, ventilation, heat, and cure instructions | Handle specialty adhesive or redesign the join |
| Heavy, smooth, or rigid decorations | A specialty adhesive only if documentation supports the surfaces | Strength, cure time, fumes, flammability, and exposure precautions | Usually apply and supervise drying yourself |
Drying language can be confusing. Some products describe when a piece can be left alone; others distinguish that from full curing, when the adhesive reaches its intended final bond. If the package gives both times, plan around both. A child can keep making while one section dries on a tray or shelf.
The lowest-fuss choices for everyday kids’ crafts
For many paper-based activities, the least complicated option is the better option. It gives a child a way to attach, layer, cover, and revise without turning the whole session into adhesive management.
Glue sticks: useful for light paper placement
A glue stick can make sense when the project is mostly paper shapes, drawings, tissue paper, or lightweight collage materials. It can be easier to direct adhesive onto a broad paper area than a runny liquid, and the cap helps limit exposure between uses.
Set out only one or two sticks rather than every color or type in the craft bin. Show a first action: twist or uncap according to the product design, add adhesive to the back of the paper, then press it onto the base. A scrap sheet underneath can catch over-application.
Glue sticks may be less helpful when a child is joining bulky, rigid, textured, or moving pieces. Instead of repeatedly adding more glue, pause and check whether the materials need another joining method.
Water-based liquid craft glue: useful when spreading matters
A liquid craft glue may suit projects that need a wetter, more spreadable layer, provided the specific product’s age guidance and directions fit your situation. It can be useful for paper and cardboard projects when the package lists those surfaces.
Liquid glue also creates practical trade-offs:
- Too much can wrinkle thin paper or slide pieces around.
- An uncapped bottle can spill quickly.
- Projects need a protected place to dry.
- Fingers and tools may need prompt cleanup according to the label.
For a young child, a small amount in a shallow disposable dish may be easier to manage than a full bottle only if the product directions permit that kind of handling. Otherwise, an adult can dispense the amount needed and recap the bottle immediately.
A simple phrase helps: “Dots, not puddles.” It is not a safety rule or a universal technique, just a useful starting point for keeping paper crafts from becoming soggy. If the child prefers broad swipes, a glue stick may be the calmer choice.
When an adult should take over or choose another method
Some adhesives come with hazards that do not belong in casual child-led use. The right response is not necessarily to abandon the project. It may be to let the child plan, arrange, choose, and press while an adult handles the adhesive itself.
Hot glue guns and hot-melt glue
Hot glue tools use a heated nozzle and melted adhesive. Both can cause burns. They also need a stable place to rest, attention to cords where applicable, and time to cool before storage.
If you are using a hot glue gun, read the exact tool instructions and glue-stick directions before plugging it in. Keep the work area clear, prepare every piece first, and have an adult do the gluing rather than asking a child to rush through a heat-based step.
A child can still take part by arranging pieces in order, pointing out placement, holding a larger item at a safe distance when appropriate, or pressing a cooled join only after the adult confirms it is ready.
Solvent-based or all-purpose adhesives
“All-purpose” does not mean “appropriate for every family craft.” Some stronger adhesives have directions about ventilation, flammability, fumes, skin contact, eye protection, or storage. Those instructions are product-specific and need to be followed exactly.
If an adhesive has a strong odor, a flammability warning, or ventilation directions, move that step out of a casual kitchen-table craft session. An adult may choose to complete the join in the conditions specified by the manufacturer—or select another construction method.
Do not assume that opening a window is enough for any product that calls for ventilation. Follow the product documentation rather than making up a workaround.
Two-part adhesives, epoxy, and resin products
Products that require measuring, mixing, or a lengthy cure deserve a separate plan. The package may specify ratios, working time, protective measures, ventilation, storage, and disposal. A rushed mix or a curious hand in an uncured product can create more difficulty than the project is worth.
For a child’s craft, consider whether tape, ties, a pre-cut slot, or adult assembly will achieve the same purpose. If an adult uses a two-part product, keep children away from the mixing and curing area unless the manufacturer’s directions clearly allow their presence.
Set up the table so glue does not become the whole project
A little preparation gives everyone more room for the enjoyable parts: choosing colors, sorting materials, building a scene, making a pattern, or deciding what happens next.
Try this low-drama setup:
- Choose one adhesive. More options often create more open caps, sticky hands, and uncertainty.
- Prepare pieces before opening glue. Cut paper, sort decorations, and test-fit cardboard tabs first.
- Protect the work surface. Use a washable mat, tray, scrap cardboard, or disposable covering as appropriate for the adhesive and table.
- Keep caps with their containers. Put the cap in a small dish or designated spot rather than letting it disappear under paper scraps.
- Make a drying zone. A tray, baking sheet reserved for crafts, or clear counter space can prevent a finished project from being moved too soon.
- Plan cleanup before beginning. Keep materials and hand-cleaning supplies consistent with the product instructions nearby.
- Put adhesives away when the sticking step ends. A project can continue with drawing, decorating, storytelling, or building around the joined pieces.
It is also fine to pre-glue the hard parts. A child does not need to operate every tool to be genuinely involved in a craft. They can choose the sequence, arrange pieces, decide where something belongs, or add the details once the adult-made join is ready.
Common questions about glue for kids’ crafts
Is glue stick or liquid glue better for paper crafts?
Neither is always better. A glue stick may be a simpler starting point for lightweight paper placement. A liquid craft glue may be useful when the product documentation lists the paper or card you are using and the project needs a spreadable layer. Choose based on the materials, the package directions, the child’s comfort with the container, and whether you have space for drying.
Can children use a hot glue gun?
Check the exact hot glue gun’s instructions and age or supervision guidance. Because hot tools and melted glue can burn skin, an adult-operated glue step is often the more practical choice for children’s crafts. A child can still direct the design and participate once the join is safe to handle.
Do I need ventilation for kids’ craft glue?
Follow the exact adhesive label. Do not assume every craft glue needs the same setup, and do not assume that every water-based product has no precautions. If a product calls for ventilation, has flammability warnings, or gives special handling directions, use it only as directed or choose a different method for the project.
What should I do if craft glue gets on skin, in eyes, or in a child’s mouth?
Use the first-aid and exposure directions on the product label or Safety Data Sheet for that exact adhesive. Do not improvise based on a different glue type. If the label directs you to seek urgent help, or if you are worried about an exposure, contact the appropriate local poison information service or emergency service promptly and have the product container available.
A simple selection rule for the craft bin
Begin with the least intensive adhesive that the label says is appropriate for the child and materials. For ordinary paper play, that may mean a glue stick or child-appropriate liquid craft glue. For projects involving heat, fumes, mixing, flammability warnings, or a long cure, let an adult handle the adhesive step—or redesign the join.
The useful craft supply is not always the strongest one. It is the one that fits the project, leaves enough room for the child to make choices, and can be used according to its instructions in your actual home.
Sources and research note
This article is intentionally cautious because the supplied research package does not include official manufacturer instructions, Safety Data Sheets, product-specific age grades, poison-exposure guidance, or regulator recall information. Adhesive formulations and warnings vary by product and market, so check the product in hand before use.
The following supplied sources were used only as general context for comparing adhesive categories, not as authoritative safety guidance for a particular product:
- Craft Glue Guide 2026: 3 Best Glues for Any Project
- Best Fastest Drying Craft Glue for Quick Projects
- Best Glue for Crafting: Top Adhesives for Every Project
For any glue you plan to use, rely on its current package directions and manufacturer documentation for compatible materials, age guidance, ventilation, cleanup, storage, and exposure instructions.