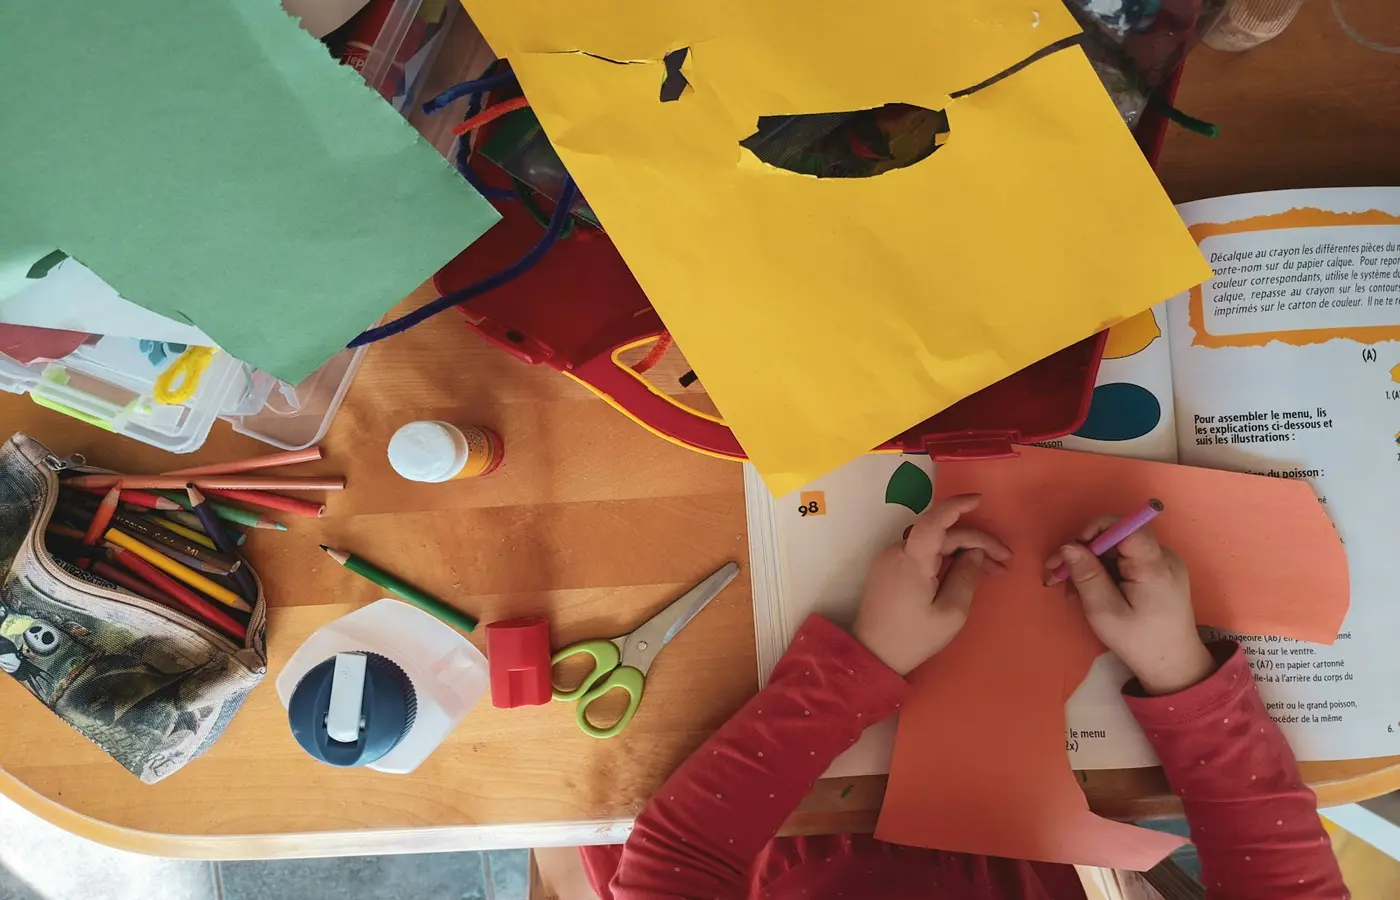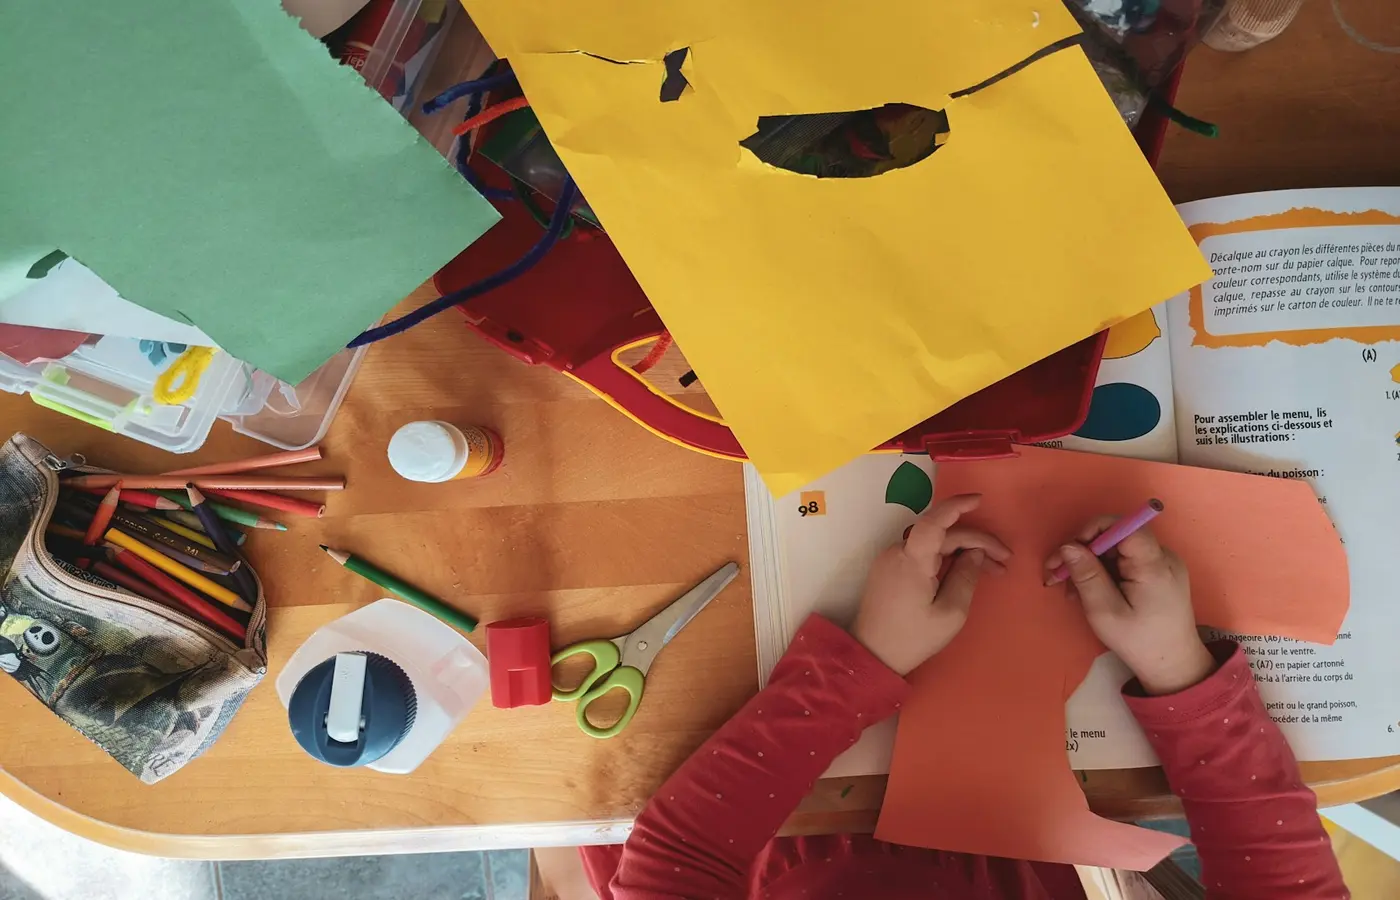
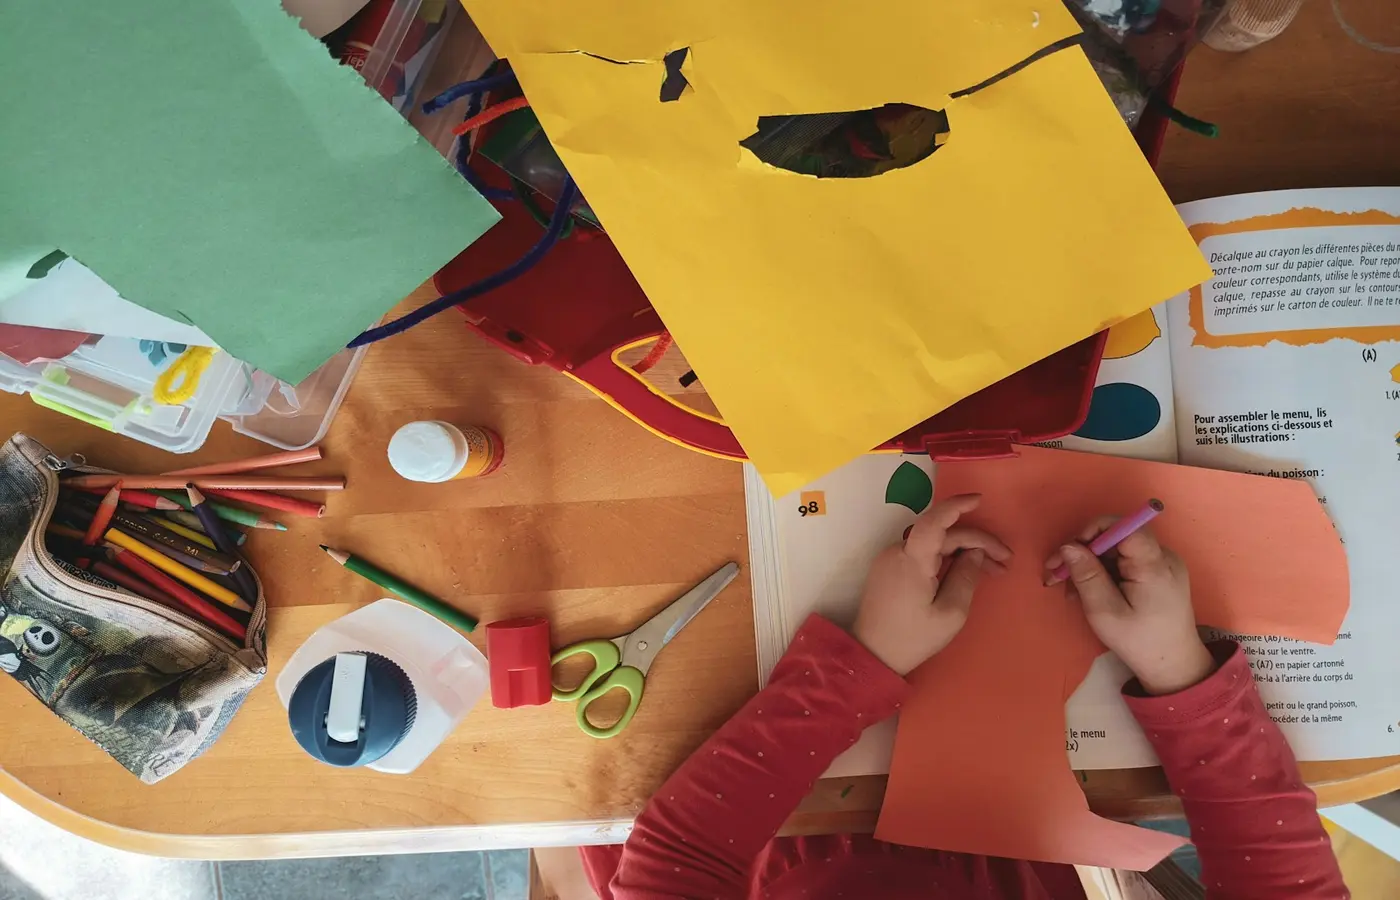
A child has paper shapes to attach, a cardboard box to decorate, or a collage in progress—and you need to decide which adhesive will make the project manageable. For many lightweight paper crafts, a glue stick is a simple place to begin. Liquid school glue can be useful when a project needs a wet, spreadable adhesive and you have room for spills and drying.
Neither format is automatically safer, less messy, or better for every child. Start with the materials, the child’s current ability to handle the container, and the exact instructions on the product in your hand. Age guidance, warnings, cleanup directions, and storage instructions can vary by formula and market.
Start with the project, not a rule about the “best” glue
The useful question is not “Which glue should children use?” It is: “What needs to stick, and what can we set up comfortably today?”
For a quick paper collage, a glue stick may allow a child to swipe adhesive across the back of a cutout, press it down, and keep moving. For a project involving cardboard, layered materials, or an arrangement that needs wetter adhesive, liquid glue may be worth considering—but it also creates more opportunities for drips, puddles, stuck fingers, and a project that needs to stay put while it dries.
Life With Toys’ guide to glue sticks, tape, and liquid glue for children’s crafts recommends matching the adhesive to the project materials and the product directions. That is more useful than treating either format as a universal upgrade.
Before setting out supplies, look at:
- What you are attaching: lightweight paper, cardboard, photos, leaves, fabric scraps, or something else.
- Whether the project needs to be moved right away or can stay flat to dry.
- Whether your child can twist, uncap, squeeze, stop, and recap the product with the support available.
- Where stray adhesive can land without becoming a bigger problem.
- The age guidance, warnings, materials guidance, cleanup information, and storage directions on the package.
A small project can also be a good reason to simplify. If the gluing becomes the hardest part of the activity, you can offer fewer pieces, hold the paper steady, dispense glue yourself, switch to tape, or pause altogether.
When a glue stick may fit the task
Glue sticks are often practical for lightweight paper and paper-based cutouts. The child can usually apply adhesive directly to one surface, press the pieces together, and continue without making a separate puddle of glue.
For example, Pelikan describes its PELIFIX glue stick as intended for paper and cardboard. Its product information says the glue applies white and dries clear, which can help a child see where they have put it before attaching a piece. Bostik AMOS Glue Stick is described by the manufacturer as a clear-drying craft glue for stationery and school work.
Those are product-specific descriptions, not a promise that every glue stick works the same way on every material. A glue stick may not be the right tool for every bulky, textured, or heavy item a child wants to add to a collage.
A manageable first setup
For a first attempt, keep the task narrow:
- Put out a small number of paper pieces rather than a full pile.
- Place the glue stick and a sheet of scrap paper on a protected work surface.
- Show the child how to twist up only a little adhesive.
- Invite them to apply glue to the back of one piece at a time.
- Help them line it up and press it down if needed.
- Practice putting the cap back on before moving to the next material.
The cap and twist mechanism are part of the task, not a sign that a child should be able to work independently. Some children may happily swipe glue but need help with lining up small pieces, recapping the stick, or avoiding an overly thick layer. That is ordinary support, not a reason to turn craft time into a skill test.
A glue stick can also make it easier to offer a short, self-directed invitation: a few shapes, a page, and one adhesive. The finished picture does not need to be the goal. A child may be more interested in opening and closing the cap, making repeated marks of glue, or arranging pieces without sticking them down yet.
When liquid school glue may fit the task
Liquid glue can suit a project that needs adhesive in a wetter, more spreadable form. It may be useful when you want to place a small dot or line of glue in a particular area, or when the materials do not suit the glue stick you have available.
The important limitation is that “liquid glue” is a broad label, not one formula or one set of handling rules. LePage’s comparison of liquid glue and glue sticks notes that liquid adhesives can include different kinds of adhesive, and that PVA adhesives may need longer curing time. That information should not be read as a drying-time rule for all school glues. Use the instructions for your specific bottle instead.
The supplied research does not include official age guidance, warnings, cleanup instructions, or material recommendations for a particular liquid school glue product. For that reason, it would not be responsible to give a universal age range, call all liquid school glue washable or non-toxic, or promise that it will bond particular materials.
Give the bottle less work to do
Liquid glue is often easier when an adult sets up the amount rather than handing over a full bottle and hoping for a small squeeze. You might:
- Dispense a small amount onto a scrap of cardboard or tray, then let the child apply it with a craft stick or brush if the product instructions allow.
- Hold the bottle together while the child presses gently.
- Use one project piece at a time, rather than gluing many pieces at once.
- Put the project on a tray, baking sheet, or other washable surface so it can dry undisturbed.
- Keep a damp cloth or other appropriate cleanup materials nearby, following the product label.
This is not about making art perfectly neat. It is about making the setup easier to manage. A child may enjoy the sensory experience of squeezing glue, but if the bottle repeatedly produces large puddles, it is reasonable to take over dispensing or choose another adhesive for that day.
Handling, mess, and cleanup in a real home
The difference between glue stick and liquid glue is often less about the finished project than the adult work around it.
| Home consideration | Glue stick | Liquid school glue |
|---|---|---|
| Applying adhesive | Usually rubbed directly onto one surface | Usually squeezed, poured, or spread from a bottle |
| Common friction point | Cap, twist mechanism, missed edges, pieces that shift | Too much glue, drips, bottle control, glue on hands or table |
| Drying setup | Still follow product directions and allow pieces to settle | Often benefits from a clear, undisturbed drying area; check the specific label |
| Cleanup information available in supplied sources | Varies by product | Must be checked on the exact product package or manufacturer documentation |
A protected work surface is useful with either format. A washable placemat, tray, old newspaper, or scrap cardboard can make cleanup less urgent. Give the child clothing you are comfortable having marked, or add a smock if that reduces stress for everyone.
Manufacturer cleanup claims are also specific to the product. Bostik says spills of its AMOS Glue Stick can generally be cleaned with soap and warm water, while advising users to test a cleaning approach on delicate materials first. Pelikan says its PELIFIX glue stick can be washed out with cold water. Those instructions do not automatically apply to another glue stick, to every fabric, or to liquid school glue.
If adhesive gets onto a delicate surface, avoid assuming that water, scrubbing, or laundering will solve it. Check the product information first, and test a cleaning method in an inconspicuous area when the manufacturer advises doing so.
Plan for the drying zone
A wet project needs a temporary home. Before opening liquid glue, decide where the work can remain without being bumped by a pet, sibling, dinner preparation, or the child who has already moved on to another activity.
A tray can be especially useful because it lets you move the whole project without lifting loose paper pieces. If there is no reasonable drying space, a glue stick, tape, or a different activity may be the more workable choice.
Age guidance, supervision, and label cautions come before format
Terms such as “non-toxic,” “solvent-free,” or “safe” do not mean a product requires no supervision. They are manufacturer claims with particular meanings and limits, and they do not replace the package instructions.
For example, Bostik describes its Malaysian-market Glu Stik as solvent-free and says it contains corn starch. The manufacturer also notes that repeated or prolonged contact may cause an allergic reaction in some susceptible people. That is a useful reminder to read the details behind broad label language.
The Bostik pages in the supplied research cover products marketed in New Zealand and Malaysia, while Pelikan’s page is international. Formulations, warnings, packaging, and availability can vary by market and product version. Rely on the label and instructions of the specific glue you have, especially if they differ from online information.
Use closer supervision when a child is likely to mouth supplies, pull off and mouth a removable cap, squeeze a bottle repeatedly, put glue near eyes or face, or spread adhesive beyond the work area. If any of those patterns are likely today, adapt the activity rather than expecting the child to resist them through reminders alone.
Helpful adaptations include:
- Keeping the adhesive in an adult’s hand and offering it only when needed.
- Putting out one glued piece at a time.
- Using larger paper shapes that are easier to grasp and position.
- Offering a glue stick for the child while the adult handles the liquid glue portion.
- Choosing drawing, stickers, reusable collage pieces, or another activity when close glue supervision is not possible.
Stopping is also an option. If the child is frustrated, the room is too busy, or cleanup is becoming overwhelming, the materials can wait.
Answers to common glue questions
Is a glue stick or liquid school glue better for paper crafts?
For lightweight paper crafts, a glue stick is often a practical starting point because it can be applied directly to the paper without a separate wet puddle. Liquid school glue may suit some paper projects too, but it can require more control and a place for the work to dry. Follow the instructions for the specific product and match it to the materials in front of you.
What should I check on a children’s glue label before using it?
Check the stated age guidance, warnings, intended materials, application directions, cleanup instructions, storage directions, and any ingredient or allergy cautions. Keep the package available rather than relying only on a product description you saw online.
How can I make a liquid glue project less messy at home?
Reduce the amount available at one time. An adult can dispense a small portion, help hold the bottle, offer one piece at a time, and set the project on a washable tray or protected surface. Prepare a drying spot before the glue comes out.
A simple selection rule for the next art project
Choose the simplest adhesive that fits the materials and the setup you can support today.
For light paper cutouts and a short project, start with a glue stick if its label supports the planned use. For a project that needs wet, spreadable adhesive, choose a liquid school glue only after checking its specific directions and making room for squeezing, cleanup, and drying. If either option is becoming more work than play, reduce the number of pieces, handle the glue yourself, or switch activities without treating that as a failure.
Sources and research note
This article uses the supplied manufacturer and Life With Toys information below. These sources do not provide official instructions or warnings for one specific liquid school glue bottle, so check the exact package in your home for age guidance, material suitability, cleanup, storage, and warning information.
- Life With Toys: Glue Stick, Tape, or Liquid Glue for Kids’ Crafts?
- Bostik AMOS Glue Stick product information, New Zealand market
- Pelikan gluing products, including PELIFIX glue stick
- Bostik Glu Stik product information, Malaysian market
- LePage: Liquid Glue vs Glue Stick
Manufacturer descriptions and labels can change by region, formulation, and product version. The online pages above are useful context, but the instructions on the product you are using should guide the activity.