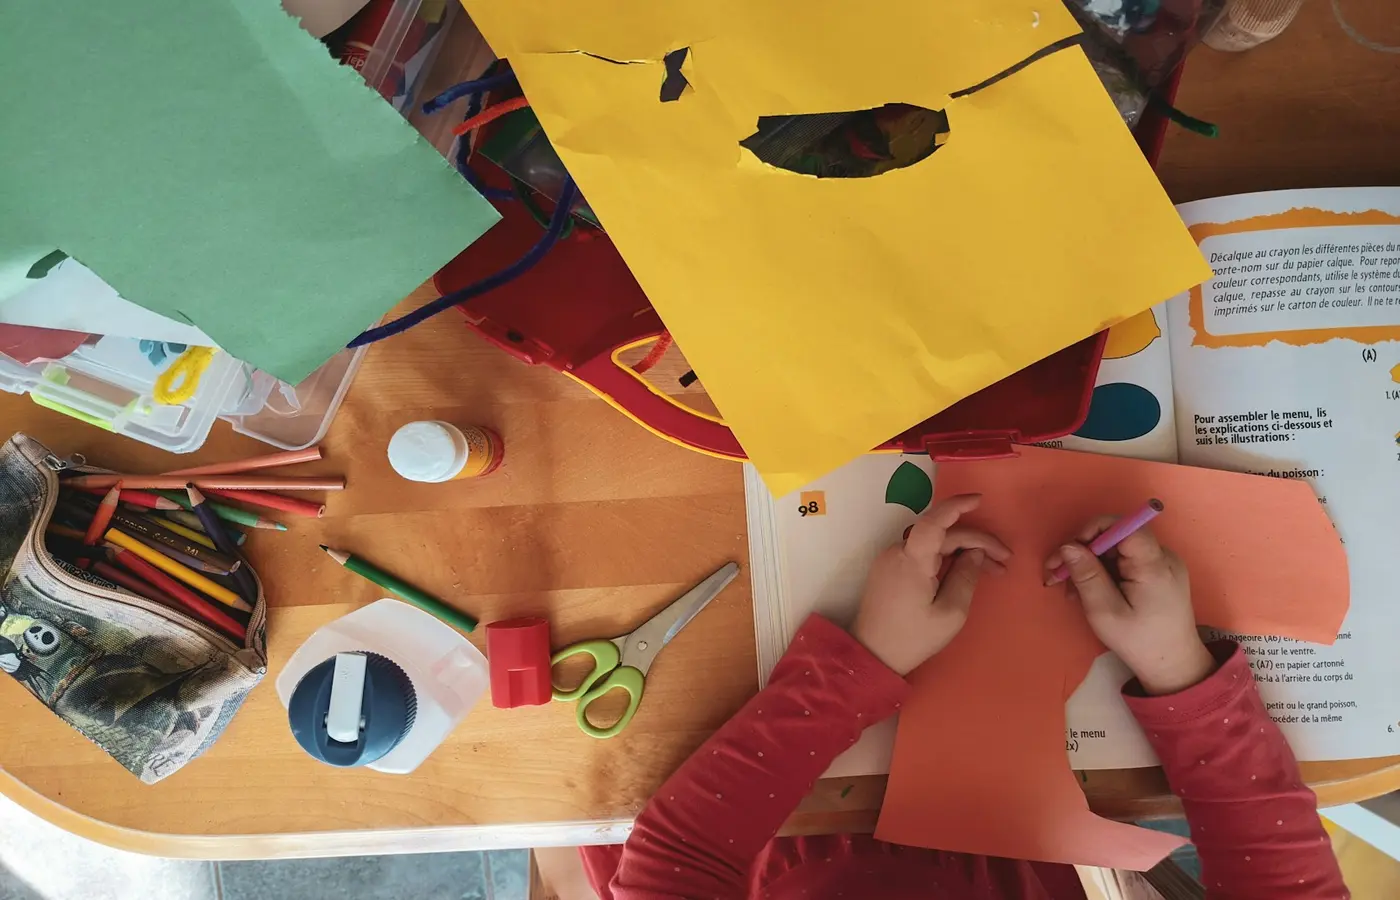
A useful pair of children’s scissors is not simply the one with the roundest tips. The better choice is the pair that matches what your child is trying to cut, how they currently use both hands together, the manufacturer’s age grade and instructions, and the supervision available for the activity.
For an early paper craft, that may mean a paper-only plastic-blade pair and an adult sitting nearby. For a child who can already open and close scissors but tires quickly, a spring-assisted or training design may make the action more manageable. For a left-handed child who is frustrated by a standard pair, true left-handed scissors may be worth seeking out.
No scissor style is universally safe or appropriate for every child. Rounded tips, covered blades, plastic blades, and safety-edge metal blades address different parts of the tool and do not replace close adult judgment, especially when a child is new to cutting.
Start with the task, readiness, and the package age grade
Before comparing handles or blade styles, name the immediate job. Is your child making one snip in a strip of paper? Cutting fringe for a collage? Following a thick line? Or simply interested in opening and closing a new tool?
Then check the exact package age grade and instructions for the particular model. Age guidance can vary within one brand and may vary by market. For example, Fiskars’ U.S. kids-and-school collection describes starter scissors for ages 2+, training scissors for ages 3+, and kids scissors for ages 4+. Crayola’s Canadian Safety Scissors listing recommends its specific product for ages 36 months and up. Those labels describe the manufacturer’s intended product use; they are more useful than assuming every pair marketed as “kids’ scissors” is alike.
Readiness is also individual. Children and Family Health Devon notes that cutting calls on sitting balance, hand and wrist control, eye-hand coordination, and two hands doing different jobs. One hand opens and closes the scissors while the other holds and turns the paper.
That is a lot to coordinate. A child may be ready to explore making snips without being ready to cut around a shape, and may manage cutting well one day but not when tired, rushed, or working at an awkward table. Difficulty is information about the setup, not a reason to push through.
A practical first rule is this: choose the least complicated scissors that match the child’s current task, then use the manufacturer’s age guidance and instructions as the boundary around that choice.
Match the cutting action to the child’s current grip and control
Scissor designs can change how much of the opening-and-closing action a child has to manage. They do not guarantee skill development, but they can make a particular craft setup more workable.
Starter scissors with a simple grip and spring action
Fiskars describes its U.S. Age 2+ starter scissors as having plastic safety blades, a straight no-loop handle, and a spring-action design that opens the blades after each cut. With this kind of mechanism, a child mainly practices squeezing the blades closed; the spring helps with reopening.
This may suit a child who can make a closing motion but finds repeated opening difficult. It can also be useful for a brief, supervised activity with paper strips. Still, the child needs space to use the tool calmly, and the adult still needs to follow the product’s instructions.
Training scissors with a lever
Fiskars describes its Age 3+ training scissors as having plastic-covered blades and a training lever. A lever is a different form of support from a spring: it may help an adult and child work through the cutting motion together or help the child learn the sequence of opening and closing, depending on the product’s instructions.
This may be a sensible option when a conventional pair feels frustrating, but it is not a necessary step for every child. If the lever becomes another part to manage, a simpler pair and easier paper may work better.
Conventional child-sized scissors
Fiskars’ Age 4+ category includes child-sized scissors with safety-edge blades and either blunt or pointed tips. A conventional pair asks the child to manage both opening and closing, while the assisting hand holds and rotates the paper.
For children who are ready for that two-handed work, ordinary child-sized scissors may feel more direct than an assisted design. Start with broad strips, short cuts, and paper that is easy to hold rather than expecting careful shape-cutting immediately.
A quick setup check
After choosing a type, look for these practical signs during the first craft:
- The child can place fingers in or on the handle without obvious discomfort.
- They can open and close the blades without an adult forcing the mechanism.
- Their other hand has room to hold the paper away from the cutting path.
- The scissors can cut the intended material as the manufacturer describes.
- The task can happen seated, at a clear and stable surface.
If one of these is not working, simplify before buying another tool. A narrower paper strip, a shorter cutting session, or a sheet with one bold line can be enough to make the next attempt feel possible.
Check hand preference and handle orientation before buying
Cutting is a two-handed activity, but the hands do not have the same role. The preferred hand operates the scissors; the other hand holds and turns the paper. Children may still be working out a consistent preference, so there is no need to force a choice based on one activity.
When a child does show a clear preference, handle orientation matters. The George Jeffrey Children’s Centre scissor-skills handout advises that left-handed children use true left-handed scissors. These are more than scissors with a symmetrical-looking handle: the blade arrangement and cutting view may be designed for left-handed use.
A product described as usable in either hand may be a reasonable option for shared supplies or for a child whose preference is not yet clear. But “ambidextrous” and “left-handed” are not interchangeable claims. Check the manufacturer’s product description and instructions for the exact pair rather than assuming its handle shape tells the whole story.
If possible, let the child try the position with paper before opening a multipack. Watch for twisting the wrist sharply, turning the scissors upside down to see the line, or abandoning the cutting action despite interest. Those signs do not diagnose anything; they may simply mean the handle orientation, paper position, or scissor mechanism is not a good match.
Choose blades, tips, and material capacity for the craft
Terms such as plastic blade, covered blade, blunt tip, and safety edge describe different features. They should not be treated as a blanket promise that a child cannot be hurt.
Plastic paper-cutting blades
Plastic-blade scissors can be a useful match for early paper crafts when the manufacturer specifies paper use. Crayola’s Canadian Safety Scissors product page describes rounded-tip plastic blades designed to cut paper and says adult supervision is always recommended. The product comes in straight, wavy, and zigzag cutting patterns.
The important limit is the intended material. If a pair is described as paper-cutting scissors, use it for paper rather than assuming it will handle thicker materials or other household items. A child who cannot cut a material with the intended scissors may not need “better” scissors; they may need a simpler material or an adult-prepared piece.
Covered blades and safety-edge blades
Fiskars distinguishes between plastic-covered blades on its training scissors and safety-edge blades on its older kids’ scissors. These are manufacturer descriptions of specific product categories, not independent safety ratings. Check the exact model because construction and guidance may differ.
For a home craft tray, blade construction is only one consideration. A pair with more cutting capacity may also require more control, more careful storage, and closer attention to what is on the table.
Blunt and pointed tips
A blunt or rounded tip can reduce the sharp point at the end of the scissors. That may be appropriate for many younger children and close-table craft activities. It does not make running, waving, throwing, or unsupervised use appropriate.
Fiskars also lists pointed-tip options in its Age 4+ kids-scissor range. A pointed tip may fit a more precise paper task only when the manufacturer’s age grade, instructions, and your supervision plan support it. There is no need to choose a pointed option just because a child is getting older.
Set up a safer, more workable cutting space
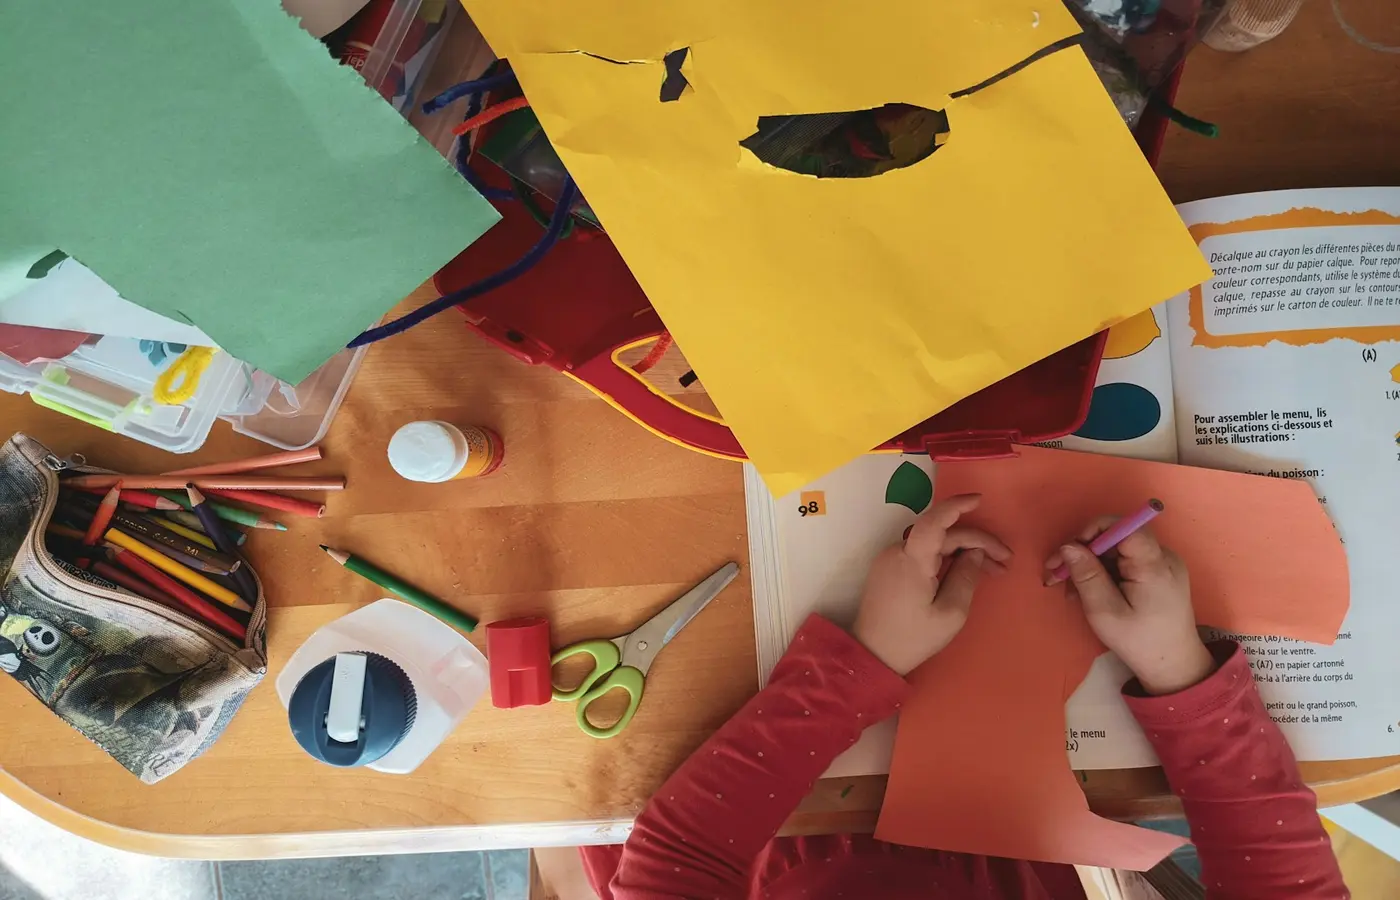
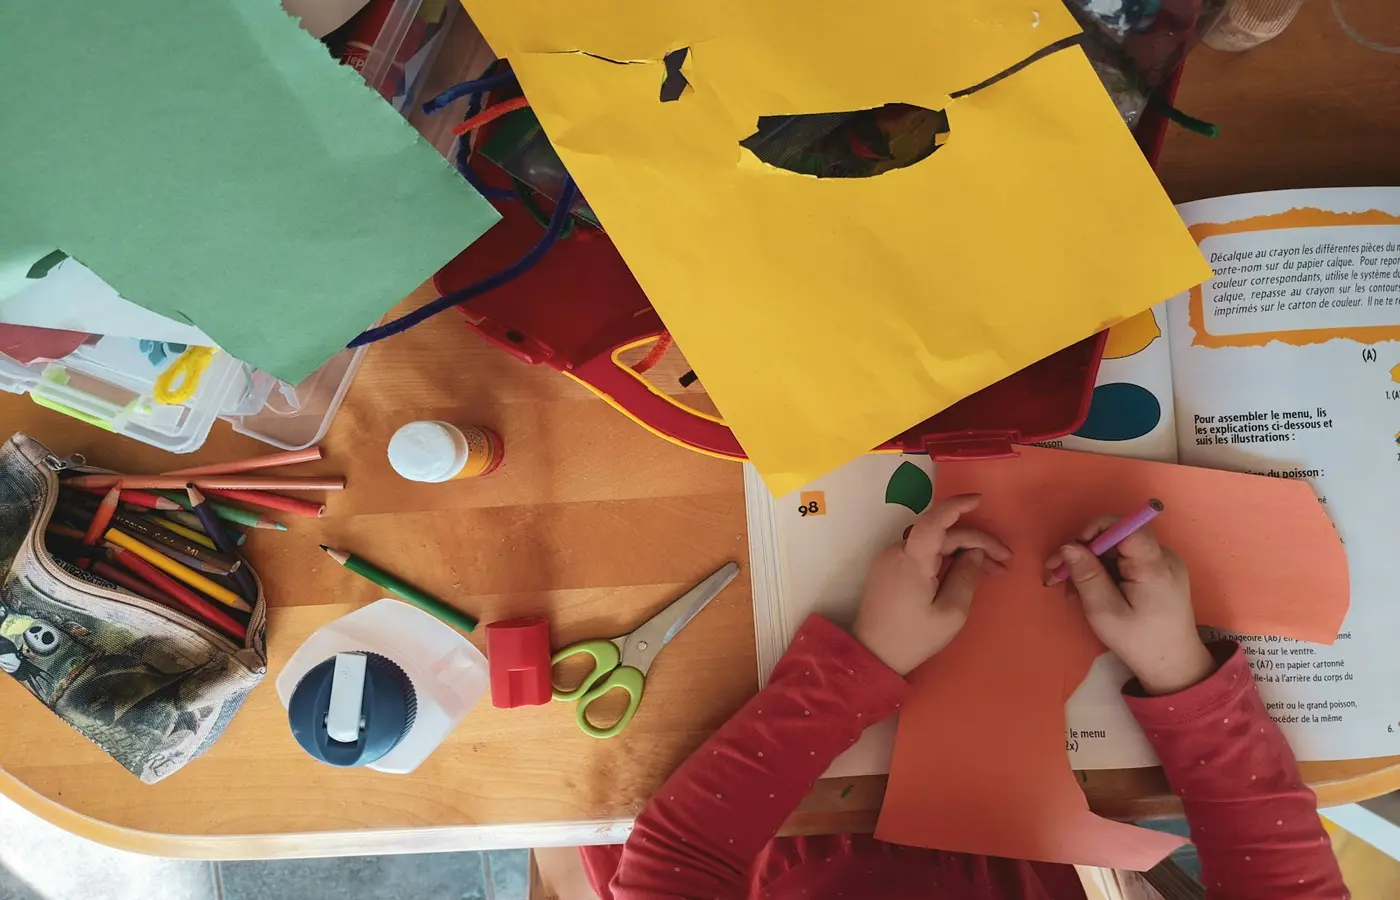
A cutting activity goes more smoothly when the room does some of the work. Put out a small amount of paper, one pair of scissors, and a tray or bin for scraps. A crowded table makes it harder for the assisting hand to manage paper and easier for pieces to travel across the floor.
Novus Dahle’s scissor-safety guidance recommends using scissors while seated at a table, initially under adult supervision, and not walking, running, jumping, or throwing while holding scissors. It also recommends passing scissors with the handles facing the other person.
For a simple home routine:
- Use scissors only at a stable table or other seated work surface.
- Keep drinks, loose cords, and unrelated toys out of the cutting area.
- Give the child paper sized for the task; long strips are easier to hold than tiny scraps.
- Stay close enough to help with positioning and to stop unsafe movement promptly.
- Pass scissors handle-first, with blades closed.
- Put scissors away when the activity ends rather than leaving them in a general art bin.
Adult supervision is not a failure of independence. It is part of making a tool-based activity possible while children are learning how the tool behaves.
On days when cutting is not working, you can pause without making it a lesson. Tearing paper, peeling stickers, placing pre-cut shapes, or using a glue stick with larger collage pieces can keep the craft idea going without turning scissors into a struggle.
Use the first craft to see whether the scissors fit
The first use is a chance to observe the match between child, tool, and setup. Keep the goal small: perhaps making a few snips along the edge of a paper strip for “grass,” “fringe,” or confetti.
Notice whether the child can:
- hold the scissors in a comfortable position;
- open and close them with some control;
- keep the assisting hand on the paper and away from the blades;
- see where they are cutting without extreme wrist twisting; and
- use the scissors on the material they were designed to cut.
The Children and Family Health Devon guidance emphasizes that cutting skills take time to develop. The George Jeffrey handout likewise describes scissor use as a complex skill that develops through practice. That makes gradual changes more helpful than escalating the challenge quickly.
If cutting a line is hard, try a wider line. If turning paper is hard, cut short strips rather than circles. If opening is the tiring part, revisit an assisted mechanism that meets the product’s age guidance. If the child is consistently using the opposite hand from the scissors’ orientation, consider whether a true left-handed or more suitable shared-use model would reduce the mismatch.
The useful question is not “Can they use scissors yet?” It is “What version of this task can they do comfortably and safely with this tool, today?”
Common questions
Are blunt-tip scissors safe for toddlers?
Blunt tips reduce the sharp point, but they do not make scissors universally safe. Follow the age grade and instructions for the exact model, use scissors seated at a table, and supervise closely. A toddler who is interested in cutting may be better served by a paper-only product designed for their age range, or by another collage activity, depending on the manufacturer’s guidance and the child’s current control.
Do left-handed children need left-handed scissors?
Not every child needs a dedicated pair immediately, especially while hand preference is still emerging. But the George Jeffrey handout recommends true left-handed scissors for left-handed children. If a child consistently prefers the left hand and appears uncomfortable or unable to see the cutting line with standard scissors, trying a true left-handed model may be practical.
What can plastic safety scissors cut?
Use the manufacturer’s stated material guidance for the specific product. Crayola’s Canadian Safety Scissors listing says its rounded-tip plastic-blade scissors are designed to cut paper. Do not assume that all plastic safety scissors cut the same materials, or that paper-only scissors are suitable for cardstock, fabric, hair, or other materials.
When is a child ready to use scissors?
Readiness is not a single milestone. Look for the ability to sit with some stability, use hands purposefully, engage with a short supervised activity, and begin coordinating one hand with the other. Then follow the exact product’s age grade and instructions. If the task is frustrating or unsafe that day, simplify it or choose another craft material.
Sources and research note
This guide uses manufacturer product documentation for product features and age guidance, alongside practical skill and safety guidance. Product instructions, warnings, age grades, and availability can vary by model and market; check the packaging and current instructions for the scissors you are considering.
- Children and Family Health Devon: Scissor skills, pre-scissor activities and types of scissors — practical child-development and activity guidance.
- Fiskars U.S.: Kids & School collection — manufacturer descriptions of starter, training, and kids scissors categories.
- Crayola Canada: Safety Scissors — manufacturer product description, intended paper use, supervision recommendation, and age recommendation for this Canadian-market product.
- Novus Dahle: Using scissors safely — general scissor-use and passing guidance.
- George Jeffrey Children’s Centre: Using Scissors — practical scissor-skills handout, including left-handed scissor guidance.