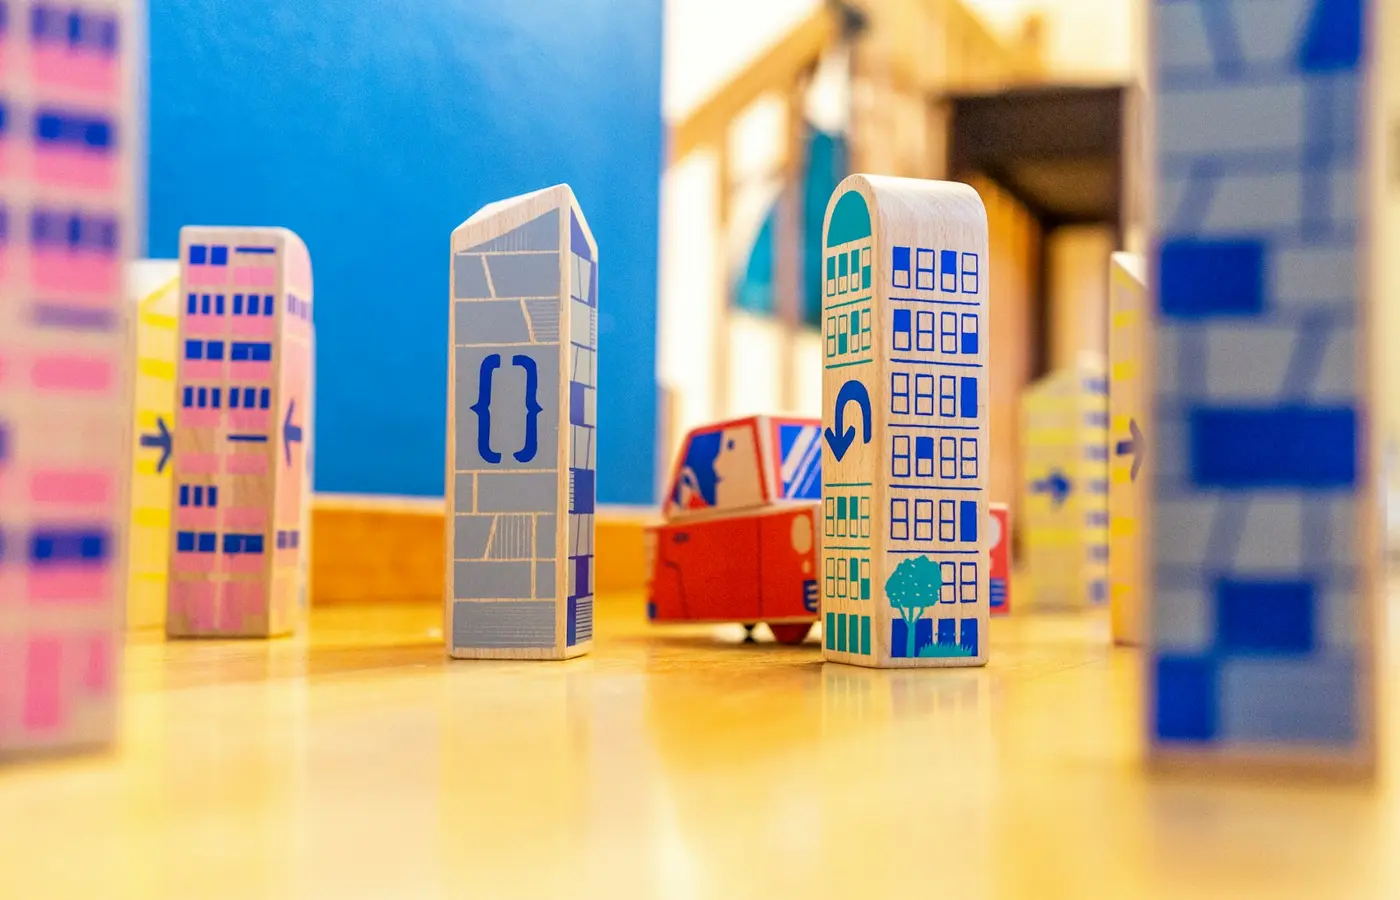
A road system, train track, buildings, figures, and scenery can make a richly reusable play scene—but they do not need to all click together to work well. The useful question is not simply whether two sets share a theme. It is whether your child can use the combined scene without constant repairs, blocked vehicles, inaccessible buildings, or a growing pile of pieces that only an adult can reset.
Before buying across systems, check four separate things: physical connections, usable scale and clearance, stability, and the age grades and warnings for every component. A setup can look coordinated in a photograph and still be frustrating on the floor.
Start with the play scene, not the brand name
Begin with what your child is already trying to do. They may want to drive a vehicle from home to a shop, send a train through a town, line up figures at a station, build a bridge, or repeatedly take the whole scene apart and begin again.
That goal tells you more than a shared theme does.
For example:
- A child who mainly drives vehicles may need roads with enough width for turning and places to stop, park, or load.
- A child focused on trains may care more about a track layout that stays connected and leaves room for hands to reach the trains.
- A child who moves figures between places may benefit from buildings that have usable entrances, open backs, or floors where figures can stand.
- A child who likes construction may be happiest with loose scenery, blocks, and a few vehicles beside a track rather than a fully fixed town.
A combined setup does not have to become one locked-together system. A road can end near a station. A building can sit next to a rail line without attaching to it. A few trees, blocks, fabric, cardboard, or small containers can suggest a landscape without requiring another specialized set.
This approach also gives you permission to stop adding pieces. If a simple track plus two buildings supports the play your child returns to, a larger and more complicated scene is not automatically better.
Check physical connections before assuming compatibility
“Compatible” can mean several different things, and only one of them is a literal connection.
Two systems may be:
- Directly connectable: their connectors are designed to join.
- Connectable with an official adapter: the manufacturer documents a transition part or approved compatible range.
- Usable side by side: they do not attach, but their heights, widths, and play functions work together.
- Visually similar but functionally separate: they may look as though they belong together but create awkward gaps, unstable transitions, or inaccessible play.
Do not infer direct compatibility from photos, similar-looking wood or plastic, matching colors, a shared vehicle theme, or retailer category labels. Cross-brand compatibility needs product-specific documentation or a careful in-person check.
What to compare
For each system you are considering, look for the official instruction sheet, assembly diagram, specifications, and product warnings. Record the details that affect the exact pieces you hope to combine:
- Connector shape, width, depth, and orientation
- Track gauge or road width
- Thickness and height of roads, rails, bases, and ramps
- Whether pieces are intended to connect on all sides or in one direction
- Curve size and turning space needed for vehicles
- Bridge, tunnel, and building-opening clearances
- Whether the set has official adapters or documented exclusions
- Whether the manufacturer says modifications are not permitted
A connector that appears close enough may still leave a gap that catches wheels, splits under pressure, or turns a smooth route into an adult-maintenance job.
If documentation is incomplete, treat compatibility as unconfirmed. You can ask a manufacturer’s customer-service team for the dimensions of the specific connector, track, or transition piece. A clear answer is more useful than a marketing image.
Test scale and clearance in a small scene
Scale is not only about whether a figure looks proportionate next to a building. It is about whether the child can actually make the intended actions happen.
A tiny figure may fit through a building door but be too small to stand steadily. A vehicle may look right beside a station but be too wide to turn at the road junction. A train may run beside scenery but derail whenever a child reaches for a figure behind it.
Start with a small test scene rather than designing a complete town in your head. Use a few representative pieces:
- One vehicle or train
- One curve, junction, or ramp
- One building or bridge
- Two or three figures
- One scenery piece or boundary
Then check the actions your child is likely to repeat:
- Can the vehicle turn without pushing surrounding pieces away?
- Can the train pass through the intended bridge or tunnel?
- Can figures stand, sit, enter, or gather where the child expects?
- Can your child reach the middle of the layout without leaning on it?
- Is there room to park, stop, load, or rearrange?
- Does adding scenery create a real play location, or just reduce usable space?
Visual scale can be flexible in pretend play. A small figure can be a passenger, a shopkeeper, or a giant, depending on the story. Functional scale is less flexible: wheels need clearance, buildings need stable floors, and hands need room to move.
Planning guidance for children’s play environments similarly emphasizes fit, usable space, intended users, and following manufacturer guidance rather than relying only on a broad age range. Those principles are useful for thinking through a home play scene, though they do not establish toy compatibility or toy safety requirements. Creating Playgrounds for Early Childhood Facilities is a broad planning resource, not a guide to combining toy brands.
Build for stability, not maximum complexity
A layout that comes apart every few minutes may be fine for a child who enjoys dismantling and rebuilding. It is less useful when the child wants to run a train, drive a bus, or arrange a long story and has to call for repairs each time a transition shifts.
Common weak points include:
- Track joints that separate when a vehicle passes
- Road sections that slide apart on smooth flooring
- Ramps that shift at the bottom
- Buildings with narrow bases that tip when figures are moved
- Tall scenery that blocks a child’s reach
- Loose landscape pieces that migrate into pathways or under furniture
- Too many transitions between systems
The first fix is usually simplification, not another purchase. Try fewer junctions, fewer ramps, and a smaller footprint. Keep the stable core—perhaps a loop of track or a short road route—and place other materials alongside it.
Make transitions deliberate
When two systems meet but do not connect, give each one a defined job. A road can stop at a train station. A vehicle can “park” near a building. A bridge can mark the edge of a town rather than carry both rail and road traffic.
A tray, low-edged mat, rug, or shallow base can help contain loose scenery and visually define the play area. It will not make an unsuitable product safe or physically compatible, but it may reduce sliding and make cleanup easier.
If the setup only works when an adult continually presses pieces together or prevents buildings from falling, consider keeping the components as separate stations. Children can still travel between a road area, a train area, and a building area in their play.
Use every product’s age grade and warnings
Combining sets does not replace the instructions or warnings that came with each individual product. Treat the whole scene as having the limits of its most demanding component.
Before offering the combination, check the official age grade, warning label, and instructions for every product—including secondhand pieces, replacement parts, figures, accessories, and older sets that have been stored away.
Pay close attention to documentation about:
- Small or detachable pieces
- Magnets
- Button batteries
- Cords or strings
- Moving mechanisms
- Sharp points or damaged parts
- Required assembly steps
- Surface requirements
- Supervision instructions
- Parts that should not be modified or mixed with other components
Do not use an age label as a developmental test. Children vary in how they handle small pieces, follow a play sequence, tolerate frustration, or use a complex layout. The label and warnings are product guidance to follow, while your own supervision decisions can account for the child, the setting, siblings, visitors, and the condition of the toys.
The current research package does not include manufacturer warnings, regulator guidance, or recall records for specific modular toy systems. For that reason, this guide cannot confirm the safety status, recall history, age suitability, or compatibility of any named product. Check current official documentation for the exact product version you have or plan to buy.
Plan for the footprint and the reset
A combined town or railway often needs more room than its piece count suggests. The layout needs open space around it for children to sit, reach, turn vehicles, add figures, and move around one another.
Before buying, mark the approximate footprint with paper, painter’s tape, towels, or empty boxes. Include the space a child’s body and hands will occupy, not just the dimensions of the roads and tracks.
Ask:
- Can people still walk safely through the room?
- Is the layout likely to be kicked, stepped on, or blocked by a door?
- Will hard pieces be noisy on this floor surface?
- Can a child reach the center independently?
- Can the scene stay out, or does it need to pack away after play?
- Where will figures, loose scenery, and connector pieces go?
- Who will rebuild it if it must be fully dismantled each day?
A permanent floor layout can make repeated use easier, but it takes household space and may collect loose pieces. A bin-based system saves room but works best when the first setup is simple enough for the available time and energy.
For storage, separate pieces by what they do rather than trying to preserve every original box arrangement. One container might hold track or roads, another buildings, and a smaller lidded container the figures and accessories that need closer supervision. A photograph of one or two successful small layouts can help a child—or an adult—rebuild a familiar starting point without treating it as the only right design.
A before-you-buy compatibility test
Use this as a practical decision tool, not a certified testing protocol.
- Name one play scenario. For example: “A train stops at a town where figures can get out and ride in cars.”
- Gather official information. Find the exact product instructions, dimensions, age grade, warnings, and any stated compatibility information.
- Compare the transition points. Check connectors, widths, heights, curve space, and clearances—not just overall product size.
- Mock up the footprint. Use paper, boxes, or household objects to see whether the scene fits where it will be used.
- Test a small combination first. If possible, borrow a piece or buy only one transition, vehicle, or building before committing to a full expansion.
- Watch for the real friction. Is the issue connection, scale, reach, stability, storage, or the amount of adult repair needed?
- Keep systems separate when that works better. Side-by-side play areas can offer more options than a forced connection.
A good modular setup is one your child can enter in a way that suits them: driving through it, arranging it carefully, telling a story, rebuilding it, or simply moving a few pieces between places. The best selection rule is simple: add a new system only when it creates a clear new play action without creating a larger safety, stability, or cleanup problem.
Sources and research note
- Creating Playgrounds for Early Childhood Facilities, Local Initiatives Support Corporation. This source was used only for broad planning ideas about scale, available space, intended users, and following manufacturer guidance. It concerns early-childhood playground environments, not modular toys, toy standards, or cross-brand product compatibility.
The research supplied for this article did not include official manufacturer manuals, specifications, warnings, compatibility statements, or recall notices for particular road, track, building, landscape, or figure systems. Product-level decisions should therefore be verified using current official documentation for the exact items and versions under consideration.