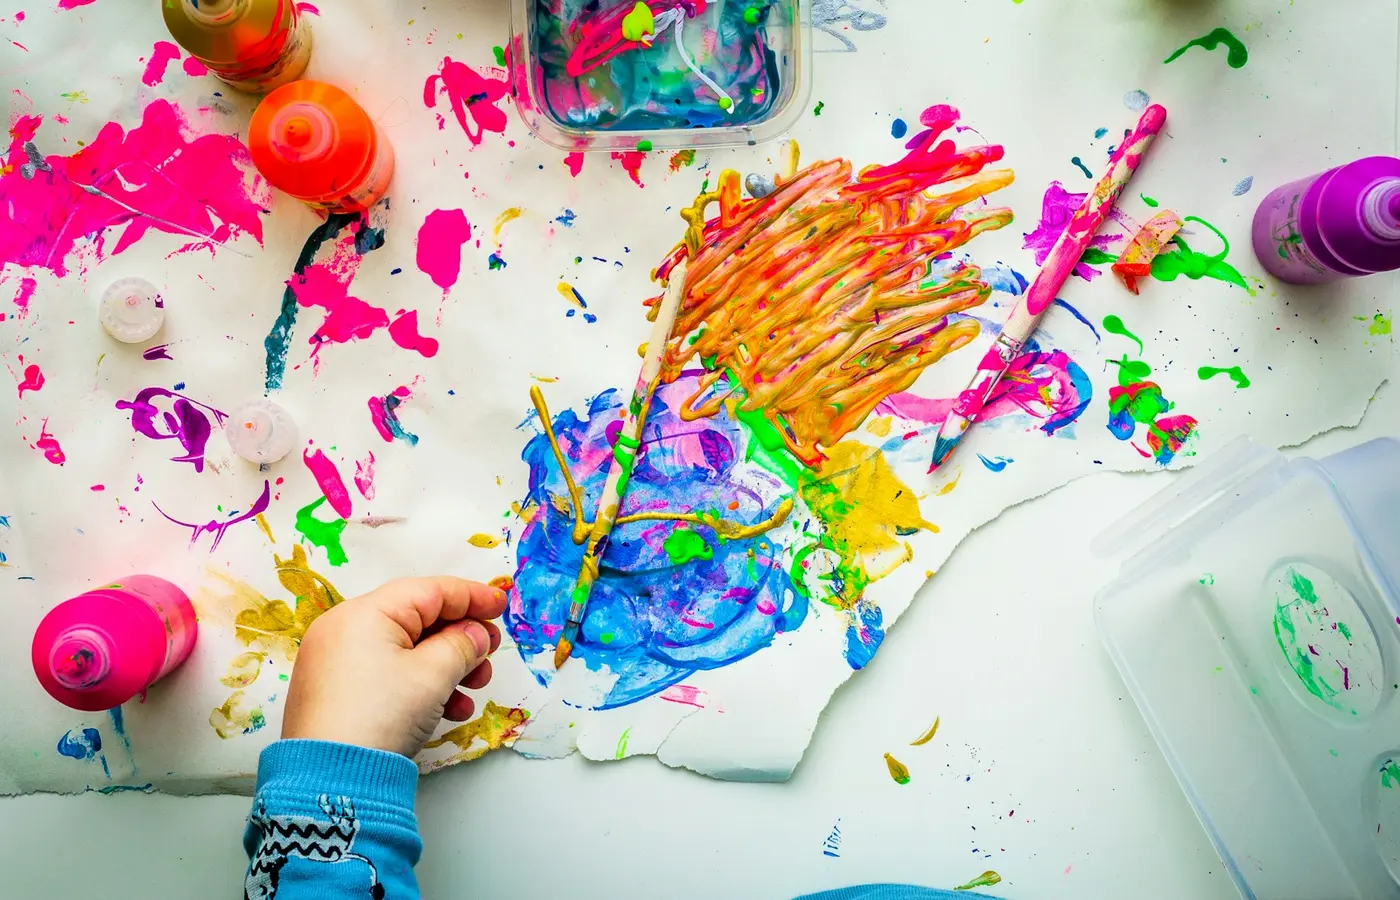
A child may want to spread color, squeeze something soft, tear paper, or attach one piece to another. You do not need a complete art kit to meet that interest. Start with the action, then choose the simplest material your household can safely supervise, contain, clean, and store.
Before comparing paint with dough or a glue stick with liquid glue, check one important condition: does the child still mouth materials or handle them in ways the product does not allow? If so, follow the age grade, warnings, intended use, and supervision directions for the exact supply. No paint, dough, crayon, or adhesive should be treated as edible simply because it is sold for children.
Among materials that pass that safety check, the practical choice is the setup you are willing to repeat. A single sheet of paper and an appropriate drawing tool may fit a short weekday window. Paint can make sense when spreading and mixing are worth wet cleanup. Dough or another child-labeled modeling material offers pressing and reshaping in a more contained area, although crumbs and residue still travel. Glue adds drying time and requires separate checks for everything being attached.
Start with the action, not a complete art kit
Watch what the child is trying to do:
- Spread, dab, layer, or mix: Consider appropriately labeled finger paint or brush-applied paint.
- Squeeze, flatten, roll, join, or dismantle: Consider a modeling dough or clay intended for the child’s age and use.
- Scribble, draw, tear, fold, or arrange: Start with paper and an age-appropriate drawing tool.
- Attach pieces: Compare a glue stick with a small portion of suitable liquid glue.
Then consider the household conditions around that action. How much table or floor space is available? Will an adult be close enough to respond to mouthing, splashing, throwing, or tool use? Does the child avoid sticky or wet textures? Is there somewhere for wet work to dry? How much cleanup can you manage that day?
This comparison is a planning tool, not an official safety classification. Individual products differ.
| Material | First setup | Likely household work | Supervision focus | Storage need |
|---|---|---|---|---|
| Paper and drawing tool | One sheet on a stable surface | Usually low, depending on the tool and surface | Mouthing, marks beyond the paper, broken pieces | Dry container or shelf |
| Modeling dough or clay | One portion on a tray or mat | Crumbs, residue, mixed colors, possible drying | Mouthing, ingredients, small accessories | Closed as directed on the package |
| Paint | One color, paper, and one tool | Surface protection, washing, drying space | Ingestion, splashing, skin or eye contact, intended use | Containers closed and stored as directed |
| Glue | Paper pieces and one adhesive | Sticky residue and drying time | Ingestion, small collage pieces, correct adhesive use | Cap replaced; store as directed |
A child does not need access to every option at once. Fewer supplies can leave more room for spreading, posting, connecting, rearranging, and starting again.
Apply the safety gate before comparing mess or play value
The U.S. Consumer Product Safety Commission’s Art and Craft Safety Guide treats different materials and processes as having different potential hazards. That is a useful reason not to rely on a general phrase such as “children’s craft supply.” Check each paint, modeling material, adhesive, drawing tool, and accessory separately.
Before use, read the exact package for:
- the age grade and intended user;
- warnings and directions;
- whether the product is meant for fingers, brushes, paper, skin, or another use;
- ventilation or contact precautions;
- storage and disposal instructions;
- the condition of containers, caps, and tools.
HealthyChildren.org, an American Academy of Pediatrics site, generally favors water-based supplies over alternatives containing chemical solvents. That preference does not mean every water-based product is harmless, suitable for every age, or safe to swallow. Continue to prevent ingestion and follow the product’s warnings.
Supervision should match both the material and what the child currently does. A broad age label cannot tell you whether this child is likely to taste paint, push a tool toward an eye, scatter small collage pieces, or become upset by sticky hands. If the intended use is unclear, the label is missing, or you cannot provide the required supervision, put the material aside.
Tools and additions need their own checks. Scissors introduce a cutting hazard even when the paper and glue are suitable. Beads, sequins, buttons, broken crayon pieces, caps, and other small components may create an ingestion or choking concern. Do not assume an accessory is appropriate merely because it came from the craft aisle.
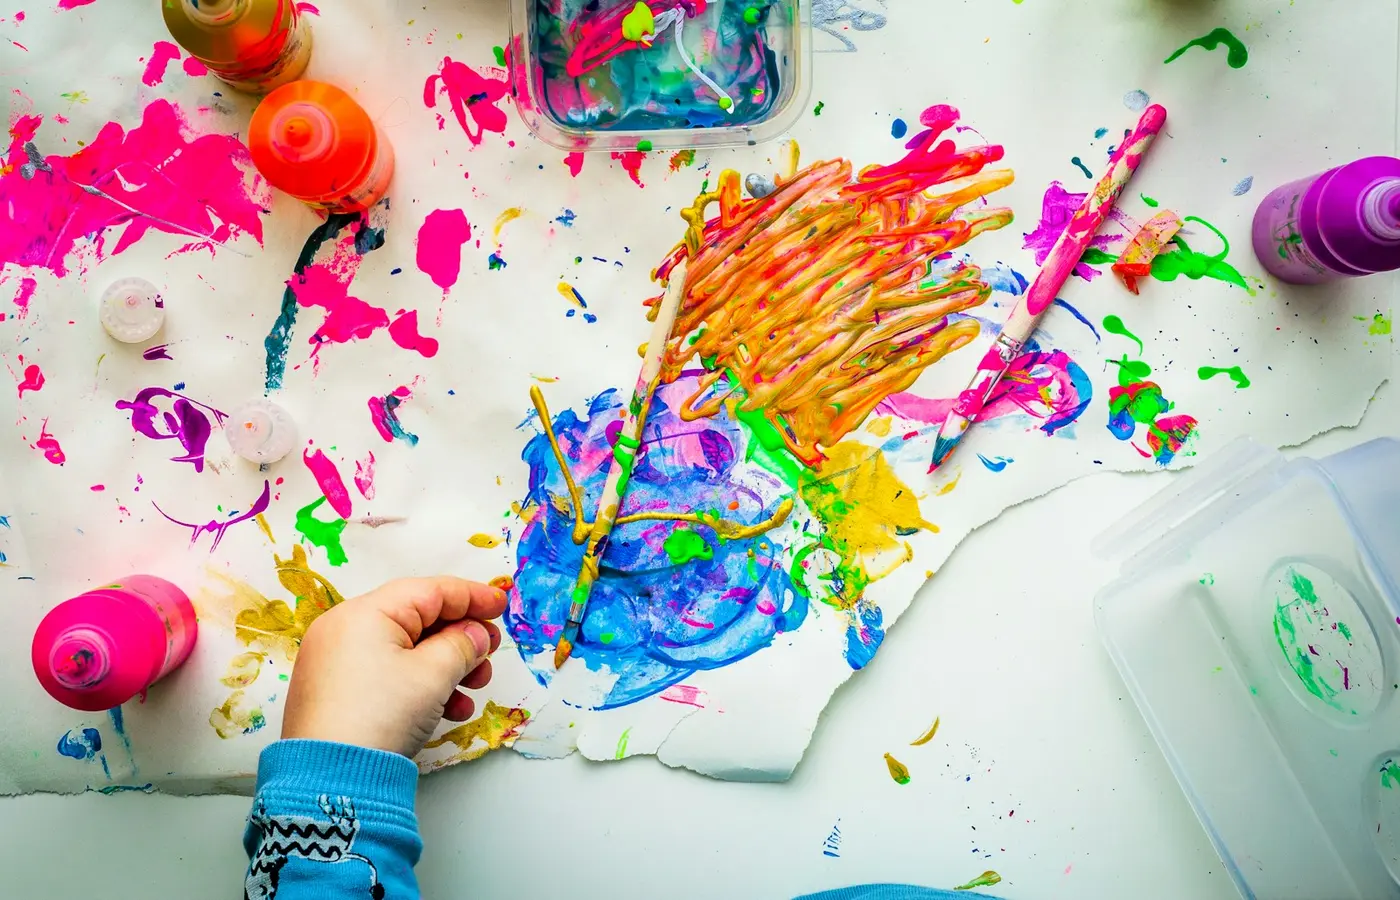
Choose paint when spreading and mixing justify wet cleanup
Paint invites broad actions: spreading with a hand or tool, dabbing, making repeated marks, covering an area, layering colors, and watching colors meet. It also requires a plan for wet hands, wet tools, drips, and drying work.
For a first setup, use only what is necessary:
- Check that the exact paint is labeled for the child’s age and intended method of use. Do not assume a brush paint is suitable for finger painting.
- Protect the working surface in a way that will not slide or create another hazard.
- Set out one sheet of suitable paper, one color, and one tool.
- Portion only the amount you are prepared to clean up; keep the main container out of the work area.
- Place a cloth and water nearby if the product directions allow water cleanup.
- Identify a drying location before beginning.
One color is still painting. Adding several colors, rollers, stamps, or printing objects can wait until the basic setup feels manageable. More choices also mean more open containers, tools, washing, and floor debris.
“Washable” should not be read as a promise that paint will leave every fabric, wall, floor, or piece of furniture without a mark. Cleanability depends on the formula, surface, time, and package directions. Clothing protection and a wipeable work area may still be worthwhile.
If splashing or mouthing is likely, close supervision is necessary, and the product instructions may make the activity unsuitable. You can stop after a few marks or choose a dry material instead; completing a picture is not the measure of successful play.
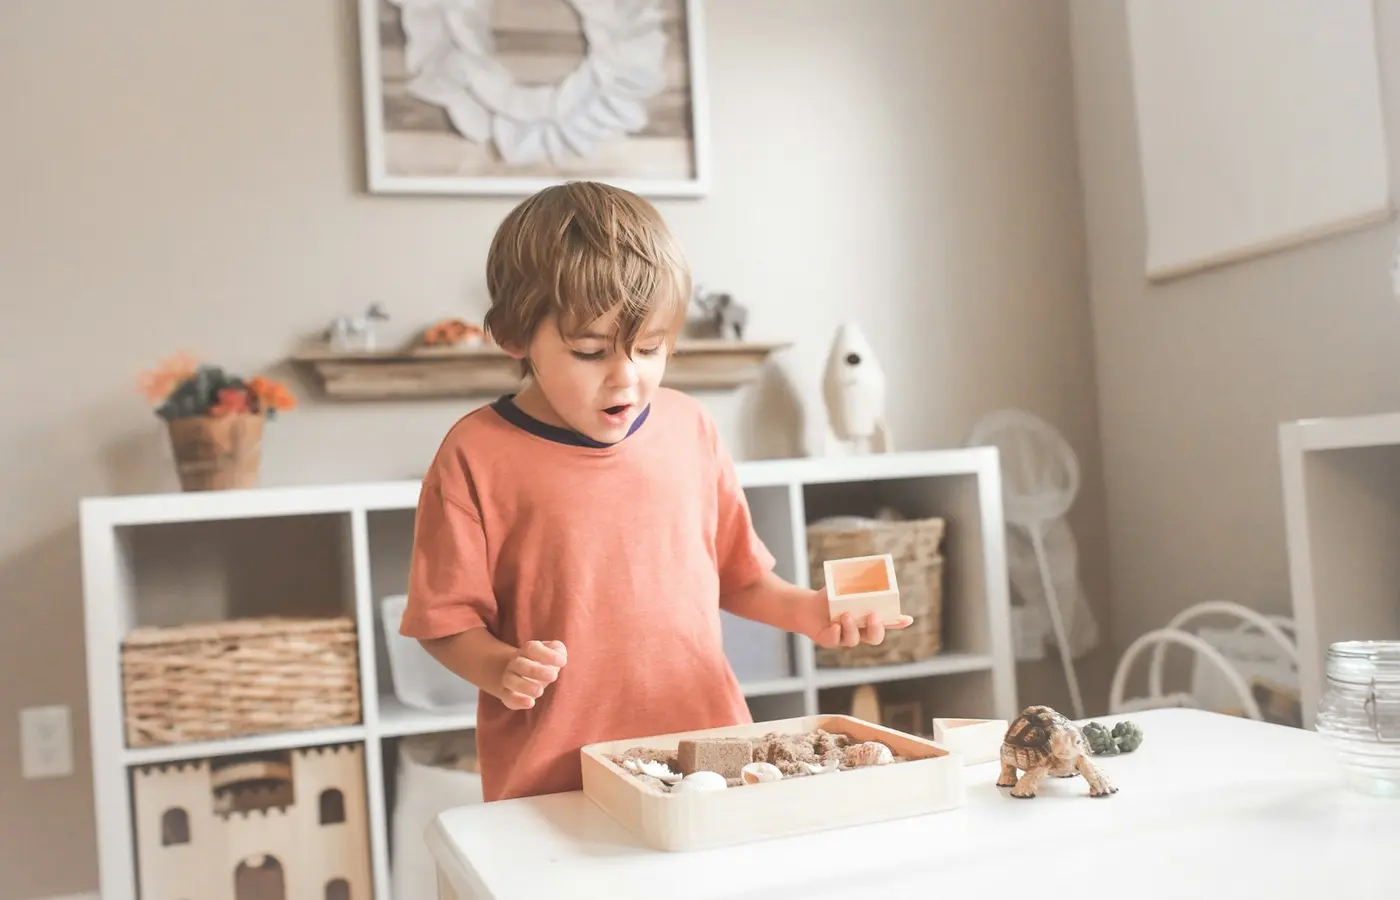
Choose clay or dough when pressing and reshaping fit the child
Modeling materials can be pressed, pinched, flattened, rolled, joined, pulled apart, and returned to a lump. A finished animal, letter, or bowl is optional. Repeated reshaping is a complete use of the material.
Do not treat all products called clay, dough, putty, or modeling compound as interchangeable. Their ingredients, intended uses, warnings, storage directions, and drying behavior can differ. A children’s modeling dough is not the same material as ceramic clay or a specialty sculpting compound.
Before offering one, check:
- the exact age grade and warnings;
- whether the child is likely to put it in their mouth;
- ingredient or allergy information provided by the manufacturer;
- whether the material requires ventilation, baking, firing, or another adult-managed process;
- whether cutters, rollers, molds, or loose accessories add small parts or other hazards;
- how the material must be closed and stored.
A tray, shallow bin, or wipeable mat can define the working area, but it will not guarantee containment. Expect some combination of crumbs, residue, floor debris, colors pressed together, or material drying out. Start with one portion and no accessories. Add a roller or other suitable tool later if it serves something the child is trying to do.
This guide does not recommend homemade dough, slime, clay, or putty recipes. The supplied research does not establish the ingredient risks, allergy considerations, contamination controls, or storage life of such mixtures.
Choose paper for quick access—and match it to the action
Paper is often the easiest place to simplify, but the right sheet depends on what is happening to it.
- Broad arm movements: A larger sheet gives marks somewhere to go.
- Wet paint or repeated gluing: A sturdier sheet may be easier to handle, though performance varies by paper and amount of liquid.
- Tearing and arranging: Clean scrap paper can provide pieces without requiring a new pad.
- Firm pressing: A stable table or board can keep the surface from shifting.
If sliding paper is causing frustration, secure it with a surface-appropriate, non-damaging method. Check that tape or fasteners will not damage the table and do not become loose pieces the child may mouth.
Paper does not remove the need to check drawing media and tools. Read the label on crayons, markers, pencils, chalk, scissors, or anything else used with it. Remove broken pieces when their size or condition creates a concern, and supervise scissors according to their instructions and the child’s handling.
Plan for paper after the activity as well as before it. Unused sheets need a dry, reachable—or deliberately adult-only—storage place. Wet work needs room to dry without being stacked. Finished work can be displayed, reused for another collage, photographed, recycled where accepted, or discarded. You do not have to preserve every page.
Choose glue by the job and the spill control you need
First ask what needs attaching. Large paper shapes may be manageable with a glue stick. Heavier pieces or broad spreading may call for liquid glue, but only if the exact adhesive is intended for the materials, age, and method of use.
A glue stick often keeps application more bounded than a bottle of liquid glue, although caps, broken pieces, residue, and overextension still need attention. Liquid glue adds squeezing, spreading, spills, and usually more drying time. Product formulas vary, so neither format is universally easier or appropriate.
For liquid glue, place a small amount in a separate container if the package permits it rather than handing over the full bottle. Protect the surface and decide where glued work will dry. Replace caps promptly and store the adhesive according to its directions.
Screen every collage addition independently. Small paper scraps, buttons, sequins, beads, glitter, and similar items do not become suitable merely because they are being glued down. Consider mouthing, eye exposure, choking concerns, scattering, and cleanup. Large paper pieces are a simpler first material.
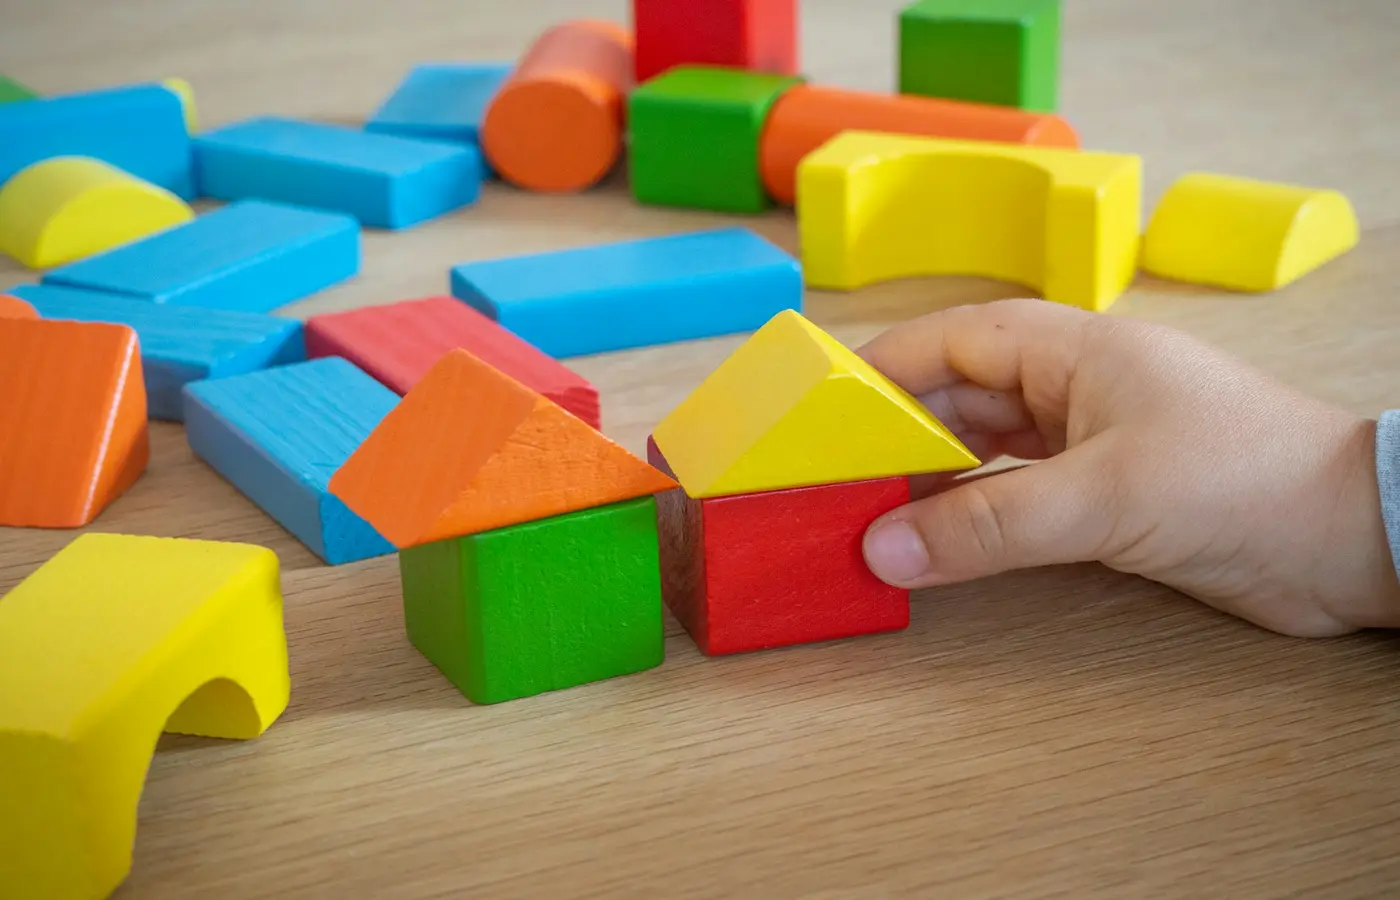
It is also reasonable to postpone glue. A child can tear, stack, sort, overlap, and rearrange paper without attaching it. Alternatively, the child can place pieces while an adult applies the adhesive if that arrangement fits the instructions and supervision needs.
Build a setup you are willing to repeat
A useful art supply is not simply one with the most possible uses. It must also fit your available space, adult attention, cleanup time, and storage.
Dry setup
Bring out one drawing tool and a few sheets of paper on a stable surface. Supervise mouthing, broken pieces, and marks beyond the work area. Return the tool to closed or out-of-reach storage as its instructions require, then collect paper and loose pieces.
Contained modeling setup
Place one portion of age-appropriate dough or modeling material on a tray or mat. Watch for mouthing and keep unsuitable accessories out of reach. The first cleanup action is to gather reusable material and close its container as directed before wiping residue or sweeping crumbs.
Wet setup
Use protected space, one paint or suitable adhesive, one tool, and the paper needed for that session. Stay close enough to manage ingestion, splashing, squeezing, and contact concerns. Move work to the planned drying area, close the main container, and collect wet tools before residue spreads.
These levels describe household workload, not safety. A dry marker may still be inappropriate for a child who mouths it, while a carefully chosen wet material may be manageable with direct adult support.
The simplest selection rule is this: choose the material that matches the child’s current action, passes the exact product’s safety instructions, and leaves you with a setup and cleanup you can realistically do today. If none does, waiting is a valid choice.
Common questions about young children’s art supplies
Does washable mean the same thing as non-toxic?
No. “Washable” describes a cleanability claim under conditions that should be explained by the manufacturer. It does not establish what happens if the material is swallowed or used against its directions. A safety-related label also does not mean edible or guaranteed to wash from every surface. Read the exact package for both safety and cleaning information.
What makes sense if a child still mouths materials?
Do not offer a supply the child is likely to ingest unless its exact age grade, intended use, and instructions support the activity—and continue to prevent ingestion. Remove small components and unsuitable tools. If mouthing cannot be managed with the required supervision, postpone the material rather than relying on broad claims such as water-based or made for kids.
Is a glue stick or liquid glue easier to manage?
A glue stick usually offers more bounded application, while liquid glue involves squeezing, spreading, and spill control. The actual choice depends on the product directions, what is being attached, the child’s handling, and your drying and cleanup space.
What is the simplest paint setup when cleanup time is limited?
Try one appropriately labeled paint color, one tool, one sheet of paper, a protected surface, and a drying place. Portion only a small amount. If even that feels like too much for the available time or supervision, choose paper and a suitable dry drawing tool instead.
Sources and research note
- U.S. Consumer Product Safety Commission, Art and Craft Safety Guide, hosted by the Art and Creative Materials Institute. Used for general guidance on material-specific hazards, labels, supervision, use, housekeeping, storage, and first aid.
- American Academy of Pediatrics, HealthyChildren.org: Choosing Safe Art & Craft Supplies for Children. Used for pediatric context on selecting children’s art materials, accidental ingestion, and the general preference for water-based rather than solvent-containing supplies.
The research package for this article was generated September 13, 2026. No specific products were tested or evaluated. The package did not include exact product labels, ingredient lists, instructions, recall checks, testing records, or independent evidence for developmental outcomes. Formulas, warnings, age grades, and directions vary, so consult current packaging and instructions for the exact paint, modeling material, paper product, adhesive, or tool before use.