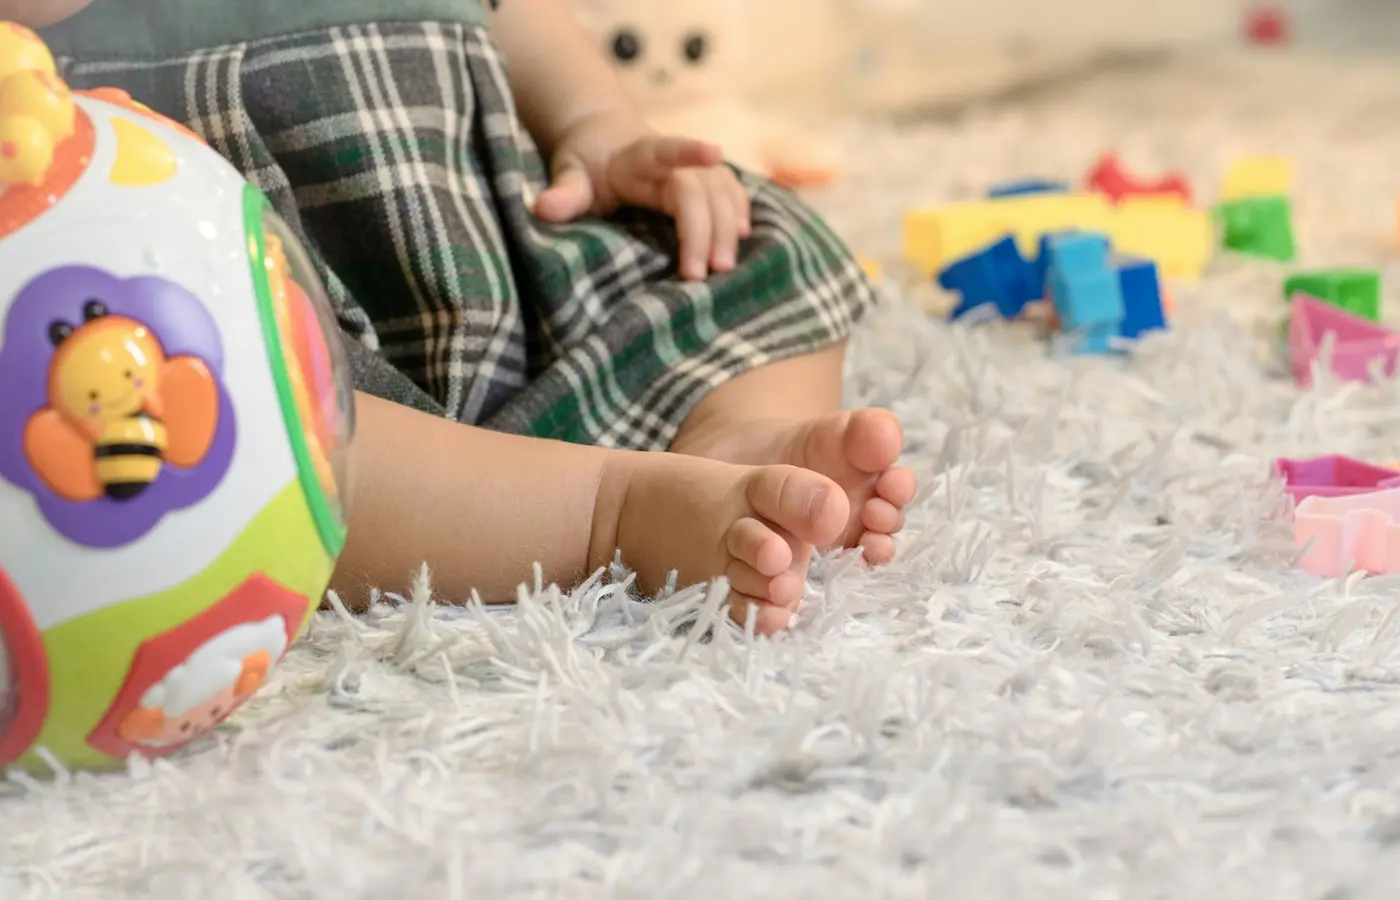
A toddler who puts objects into a container, carries it across the room, tips everything out, and starts over is already making a game. You do not need a special toy to join in. A small, simple setup with one container and a few materials can be enough.
The useful question is not whether the activity is educational enough. It is whether the container, its contents, and the room are workable for your child today. For young children, this should be an adult-present activity: stay available to notice when play changes, materials travel into another room, or the container begins being used in a way you did not expect.
Nemours includes filling and dumping among its at-home activity ideas for babies ages 6 to 11 months. That does not make every container or household object suitable for every child. It does, however, recognize a familiar play pattern: putting objects in, taking them out, carrying them, and beginning again. Nemours’ Filling and Dumping activity can be a starting point for noticing the play your child is already repeating.
Start with the play your toddler is repeating
Watch the sequence before adding more materials. A child may be most interested in one part of the loop:
- placing an item into an opening
- removing items one at a time
- carrying a light container from place to place
- turning a container over
- gathering scattered objects to do it again
- putting similar-looking items together
That observation can keep the setup small. If your toddler wants to empty a container, a second container, a sorting tray, a themed sensory bin, and a script from an adult may not add much. One container and a manageable handful of materials leaves room for repetition.
It is also fine if the activity lasts only a few minutes. A child may fill the container twice and move on, or return to it several times during the day. There is no need to stretch the play into a lesson or make a finished result.
Choose a container you can inspect, carry, and put away
There is no universal list of “safe household containers.” A container’s condition, design, original purpose, contents, and the way a particular child uses it all matter. Instead of treating a material label or a retailer age filter as a safety approval, use a simple inspection process each time.
Look for a plain, open setup
For this kind of play, the easiest starting point is usually an open container that sits steadily on the floor and is light enough for you to move easily when it is empty. A child does not need a complicated mechanism to fill and empty something.
Before offering a container, check that you can answer yes to these questions:
- Is it clean and in sound condition?
- Can you see and feel the rim, base, and inside surface clearly?
- Does it have any cracks, rough areas, broken parts, or loose pieces?
- Does it stay reasonably stable when placed on the floor?
- Can you remove it quickly if the play stops being workable?
- Can you store it out of reach when the activity is over?
If you are uncertain about an item, skip it. The point is not to prove that an everyday object can become a toy. It is to offer a simple play opportunity without creating a new safety puzzle for yourself.
Treat lids, handles, and closures as extra decisions
A lid, tight closure, handle, strap, or hinged part can make a container more complicated than it first appears. These features may change how a child carries it, where fingers go, whether materials can be retrieved, and what happens when the item is dropped or turned over.
You do not need those features for filling and dumping. If a container only works as an activity when a child must manage a closure, reach into a narrow opening, or use a part you cannot comfortably supervise, choose something simpler.
Likewise, do not assume that a container intended for storage, food, cleaning, travel, or another household task has been designed for child play. Follow any instructions and warnings that came with the item. When those instructions, the item’s condition, or its intended use leave you unsure, use a different material.
Keep breakable and damaged items out of the experiment
Fill-and-dump play often includes carrying, dropping, tipping, and repeated handling. That is part of the appeal. It is also a reason to avoid setting up with anything you would be worried to see fall, crack, splinter, or break apart.
This is a good place to simplify rather than supervise harder. If you find yourself repeatedly saying “be careful with that,” the material may be asking too much of the child and the adult. Put it away and choose a sturdier, less precious option another day.
Match what goes inside to the child, container, and room
The container is only half the setup. Objects inside can create the more difficult decision, especially if your child mouths objects, carries them away, throws them, or mixes them with other toys.
Start with a limited number of items that are easy for you to see, count, gather, and remove. A small set makes the reset more realistic and lets you notice when something is missing.
Use uncertainty as a reason to reduce the setup
Do not rely on an online activity idea, a product label such as “sensory,” or a retailer’s age filter to decide that loose materials are appropriate. If an object seems small enough to be mouthed, can come apart, is difficult to retrieve, or leaves you unsure, do not include it.
You do not need a size test, a long list of fillers, or a sensory-bin style collection to make the activity worthwhile. Larger, easy-to-spot materials that you can gather quickly may be a more manageable choice than many tiny pieces.
The same goes for mess. If the materials scatter into carpeting, roll under furniture, stick to shoes, or require a detailed search before the next meal, they may not fit the moment. Choose fewer items, move to an easier-clean floor, or save the idea for another time.
Keep household storage items out of play
This guide does not treat medications, cleaning products, batteries, magnets, food, or items from household storage as casual fill-and-dump materials. They belong in their usual storage arrangements, not in a toddler play setup.
Avoid turning the activity into a chance to explore objects that you would ordinarily keep secured, away from play, or available only for a specific adult-led task. A play container should make the room easier to manage, not blur the boundary between toys and things that are not for children.
Skip water unless you have a separate, suitable plan
Water changes the activity. It can make floors slippery, spread beyond the play area, soak materials, and demand a different level of cleanup and attention. The research supplied for this article does not provide specific water-play guidance, so this guide does not recommend water as a fill-and-dump material.
Dry play is enough. A toddler can still place, carry, tip, retrieve, and repeat without adding a spill to the day.
Set up a small play zone you can supervise and reset
A contained setup helps both child and caregiver. It is not about making play look tidy. It is about making it possible to notice what is happening and put things away without a major recovery operation.
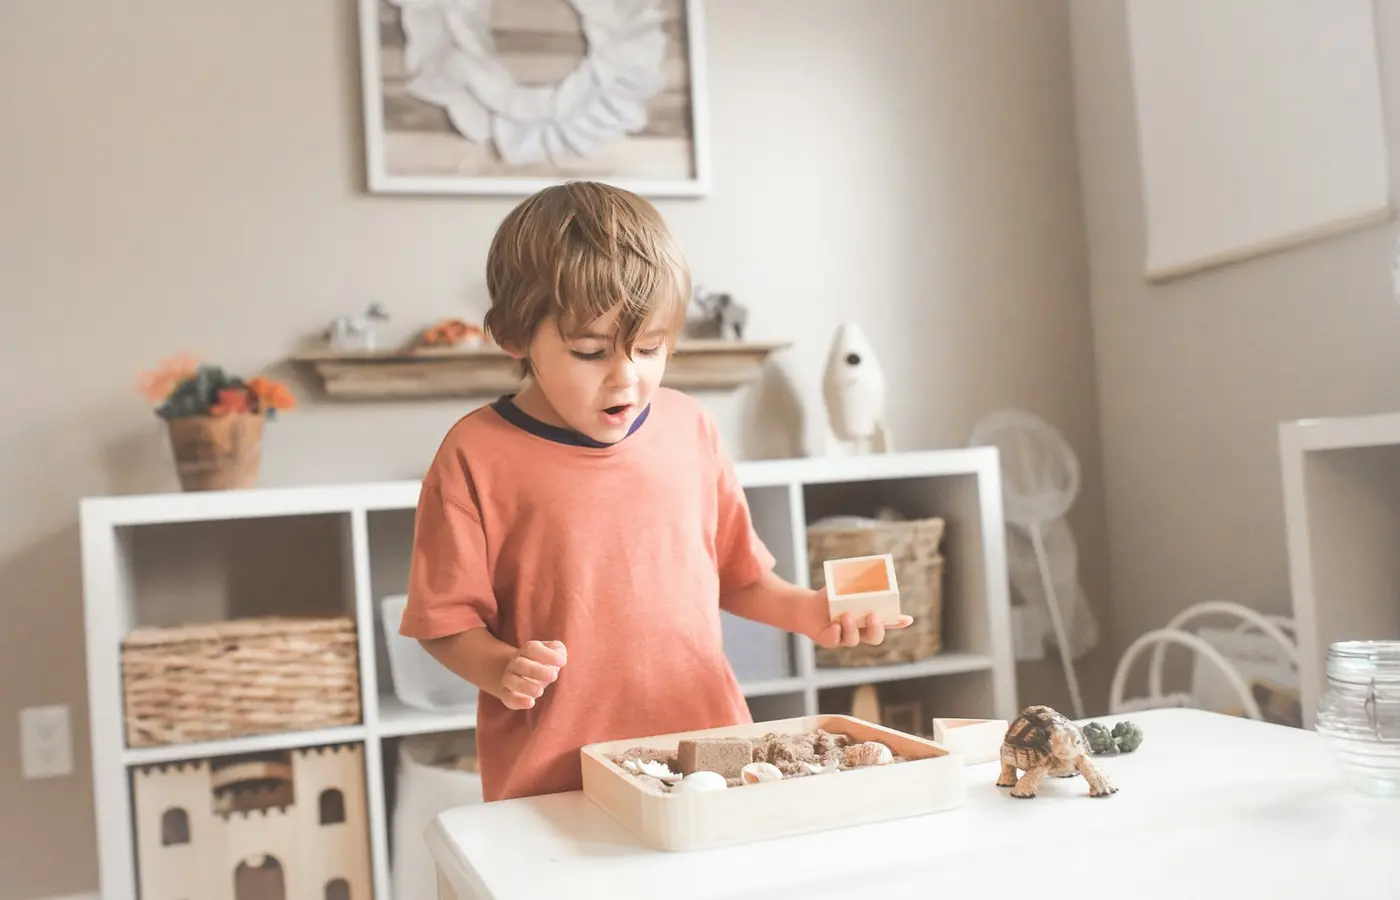
Choose a floor area where you can stay nearby and where dropped items are easy to spot. Bring out one container and a few selected objects. Keep the rest of the materials put away until you know the setup is working.
Then let the child lead the first action. You might place the container nearby and wait. If an invitation helps, put one item in the container, empty it once, and pause. A toddler may copy that action, do something entirely different, or walk away. All are useful answers.
Stay responsive rather than trying to make play independent
Adult presence does not mean narrating every move or directing each turn. It means being ready to change the setup when the child’s behavior changes.
Pause or end the activity if your toddler begins to:
- mouth materials you cannot confidently manage
- throw objects toward people, pets, windows, or hard surfaces
- carry materials into another area where you cannot keep track of them
- climb into, onto, or around the container
- use a container feature in a way that worries you
- become frustrated by a material that is hard to remove or put back
You can calmly say, “That one is not for throwing,” remove the item, and offer a simpler choice later. You do not have to turn every moment into a correction. Sometimes the clearest response is simply to end the setup and move on.
Plan the reset before you begin
The best fill-and-dump setup is one you can reset without resentment. Keep a small basket, tray, or shelf nearby for putting materials away. At the end, gather the pieces with your child if that feels workable, then finish the job yourself.
Wipe the container if needed, inspect it again before storing it, and put it away rather than leaving a mixed set of loose objects available by default. This also gives you a chance to notice damage, missing pieces, or a material that was more trouble than it was worth.
Let the play grow without turning it into a lesson
The same basic materials can invite different actions over time. You do not need to announce a new skill or ask your child to perform one. Notice what they choose and make a modest adjustment if it seems welcome.
A child who first enjoys emptying may later begin to:
- put items into the container one at a time
- carry a light container to another spot
- use one container to transfer items into another
- line objects up before placing them inside
- group items by a feature they notice
- pretend that a container is a basket, bag, delivery box, or cooking pot
These are play possibilities, not developmental requirements. Filling and dumping may invite repetition, carrying, placing, and emptying; it does not need to become a fine-motor exercise, a counting activity, or a school-readiness project.
If your child starts sorting, you can offer a second container. If they prefer dumping everything together, one container may be plenty. If they are more interested in carrying than filling, reduce the number of objects and make the route shorter. Let the child’s interest, your available attention, and the room’s limits guide the next step.
A quick keep, adapt, or skip check
Before handing over a container, use this practical rule.
Keep it when the container is clean, intact, simple to inspect, manageable in the room, and paired with a small number of materials you can supervise and gather.
Adapt it when the idea is sound but the setup is too much: reduce the number of objects, remove a confusing feature, move to a clearer floor space, or use a simpler container.
Skip it when the item is damaged, its instructions or intended use raise questions, its contents are difficult to supervise, or you do not have the attention or cleanup capacity for the activity that day.
The goal is not to create the most impressive play invitation. It is to make space for a toddler to fill, carry, dump, and begin again with materials that fit your home and your ability to stay involved.
Common questions about fill and dump play for toddlers
What household containers are appropriate for fill and dump play?
Rather than looking for a universal approved list, choose an open, clean, intact container you can inspect easily and remove easily. It should be simple enough for the activity, stable in the chosen space, and free of features that make you uncertain about how your child might use it. Follow the item’s own instructions and warnings; if they do not support the use you have in mind, choose something else.
How do I know whether the objects inside are too small for my toddler?
Do not use a loose-object activity if you are unsure whether your child may mouth the materials or if an item seems small, breakable, detachable, or difficult to retrieve. There is no need to push through uncertainty. Choose larger, easier-to-see materials, reduce the number of pieces, or skip the setup.
Can toddlers do fill and dump play with water?
This guide does not recommend water play because the supplied research does not include authoritative guidance on water supervision, wet-floor risks, or suitable containers. A dry setup can offer the same basic filling, carrying, and emptying actions with a simpler reset.
What should I do if my toddler starts throwing or mouthing the materials?
Stop the activity calmly and remove the material. You can offer a different, simpler option later, or decide that fill-and-dump play is not a fit for that moment. Changing course is part of supervision, not a failed activity.
Sources and research note
- Nemours Children’s Health, “Filling and Dumping” — reviewed for the general context of filling-and-dumping play. The supplied page is organized as an activity for ages 6 to 11 months.
The research package for this article included this activity source but did not include current, authoritative guidance specific to choking thresholds, water play, container entrapment, sharp edges, breakage, magnets, batteries, household chemicals, or product recalls. For that reason, this guide does not provide size thresholds, endorse particular household container types, or recommend water and other higher-risk materials. Check the instructions and warnings for any product you consider using, and simplify or skip a setup whenever its safety is unclear.