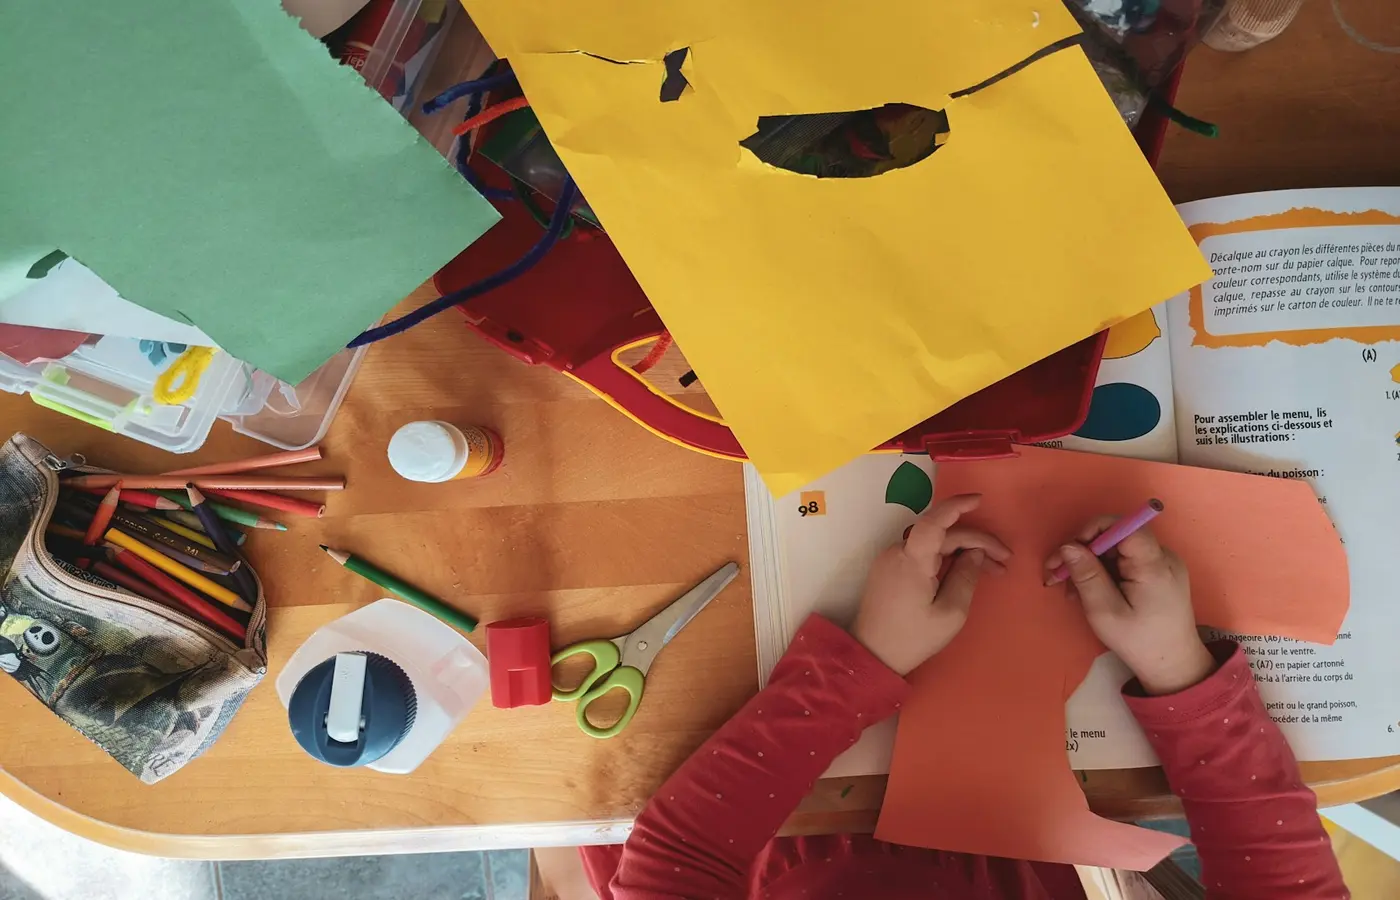
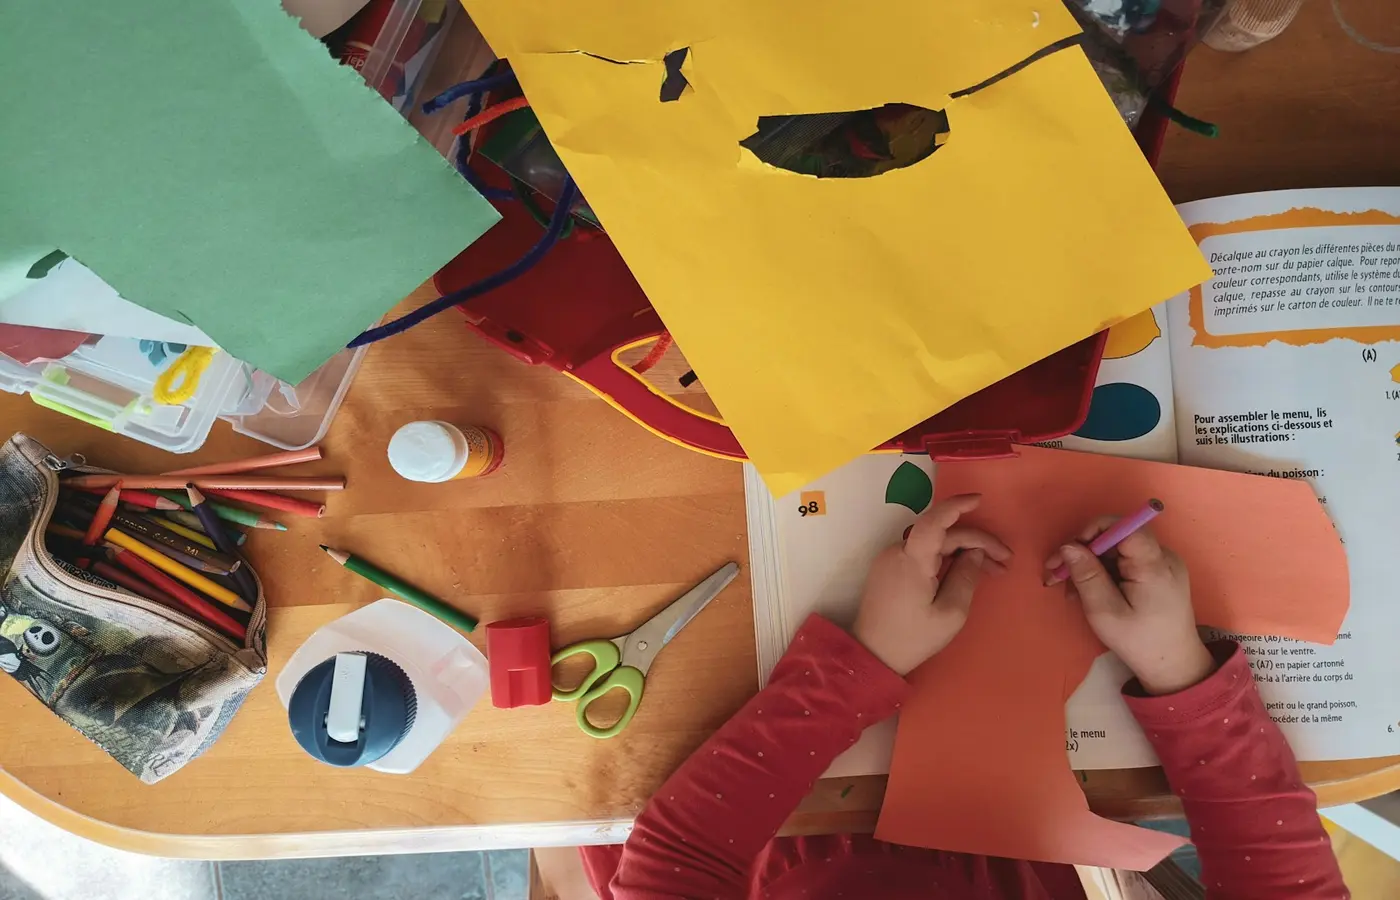
A child who wants to make snips in paper does not necessarily need the most heavily labelled pair of “safety” scissors. They need a tool that matches what they are trying to cut, what they can currently manage with both hands, and the level of adult support available.
For an early home art activity, that may mean a manufacturer-recommended paper-cutting pair, ordinary paper, a clear table, and an adult close by. Rounded tips and plastic blades can reduce some risks, but neither label replaces supervision, intact scissors, seated use, or storage out of reach between activities.
Start with the cutting task and the child’s current handling
Before comparing blade materials or decorative patterns, look at the task in front of you. Is your child hoping to cut a strip of printer paper? Make confetti? Follow a thick marker line? Cut cardboard for a model? Those jobs ask different things from both the scissors and the child.
Scissor use is a two-hand activity. One hand opens and closes the scissors while the other hand holds and turns the paper. Children and Family Health Devon notes that sitting balance, hand and wrist strength, a preferred hand and an assisting hand, and eye-hand coordination all play a part.
This is useful as an observation guide, not a readiness test. Cutting skills take time to develop. The Devon guidance says children may have the skills to use small scissors around ages three to four, while scissor skills continue developing through age six. A child may be interested before cutting is comfortable, or may need a different setup on a tired or busy day. The manufacturer’s age grade and instructions for the exact scissors still come first.
Watch for a few practical signs during a short, supervised attempt:
- Can your child sit steadily enough to use both hands freely?
- Can they open and close the scissors without repeatedly forcing the handles?
- Can they hold the paper with their helping hand, even if they are only making small snips?
- Can they pause when paper bunches, the scissors stick, or the activity becomes frustrating?
- Can they follow a simple routine for putting the scissors down before reaching for glue, stickers, or another item?
The first successful action may be one snip into the edge of paper, not cutting along a line or completing a picture. That is enough for a first session. You can offer longer strips, curved lines, or collage pieces later if your child wants to continue.
What blunt tips, plastic blades, and “safety” labels actually tell you
A rounded or blunt tip describes the end of a blade. It does not mean the cutting edges cannot cause injury. As EconoCrafts explains in its children’s scissors guide, a product name that includes “safety” also does not establish that the scissors suit every child, material, or situation.
It helps to separate a few features that are often grouped together.
Rounded or blunt tips
Rounded tips can reduce the risk associated with a sharp pointed blade end. They do not make running, waving scissors around, cutting clothing, or placing scissors near faces acceptable. The child still needs close guidance about where scissors stay and how they are handled.
Plastic blades
Plastic-blade scissors are not all the same. Their cutting ability depends on the model and the material. For example, the Canadian Crayola Safety Scissors product page describes a specific set with rounded tips and plastic blades designed to cut paper. That set includes straight, wavy, and zigzag cutting patterns, is recommended for ages 36 months and up, and says adult supervision is always recommended.
That documentation applies to that product page and market version, not to every plastic-blade scissor from every brand. Check the packaging or manufacturer instructions for the exact pair in your home.
“Safety” as a product label
Treat “safety,” “training,” or “kids’” as prompts to read further, not as proof that a pair is injury-proof or suitable without an adult. Look for the age recommendation, intended materials, warnings, and care instructions. If those are missing or unclear, choose another option or reserve the scissors for an activity where you can closely control the setup.
In the United States, children’s toys are subject to federal requirements that include the mandatory ASTM F963 toy safety standard where applicable, alongside related labelling requirements. The U.S. Consumer Product Safety Commission’s business guidance provides that regulatory context. It does not, by itself, confirm that any particular scissors are compliant, a toy, or appropriate for your child.
Match the scissor design to paper, patterns, and hand needs
A practical choice starts with the material and action rather than a promise on the package.
For basic cutting practice, plain paper is usually the simplest starting point. It gives a child a clear result without requiring a great deal of force. Short strips can be easier to hold and turn than a full sheet. If the goal is collage, you can draw broad lines, offer paper already cut into manageable rectangles, or let the child make free snips for a glue project.
Decorative scissors may make wavy or zigzag edges, but the pattern is an extra feature rather than a developmental requirement. The documented Crayola set above offers straight, wavy, and zigzag cuts; it may be useful if the child specifically enjoys seeing different paper edges. A straight-cut option can be simpler when the child is just learning the open-and-close motion.
If a child struggles, first check whether the material is the problem. A tool that works comfortably on copy paper may not work on card, foam, fabric, laminated sheets, or multi-layer craft materials. Asking a child to push harder can lead to awkward handling and frustration.
Instead, try one adjustment at a time:
- Switch to a single sheet of ordinary paper.
- Make the paper piece smaller or cut a starter notch for them.
- Move the activity to a table where both forearms can rest comfortably.
- Reduce the task to a few snips rather than a detailed shape.
- Stop and choose tearing, peeling stickers, or adult pre-cut pieces if cutting is not working today.
Hand preference also matters. A child may show a preference for one hand but still be experimenting, and the assisting hand has an important role in turning the paper. Do not assume that a standard pair will feel equally manageable for every child. If hand fit or direction is causing repeated frustration, check manufacturer documentation for scissors designed for that hand use before buying. The supplied sources do not provide model-specific evidence for spring-assisted, adaptive, or left-handed designs, so their labels and instructions should be verified individually.
Set up a supervised cutting space that is easier to manage
Good supervision is more than being somewhere in the house. For a cutting activity, it means an adult is available to notice when scissors are being used in an unsafe way, when paper becomes too difficult, or when the child needs help repositioning a hand.
LeapFrog’s guidance on children and scissors recommends that children use scissors only when an adult is present and that scissors are kept out of reach when adults are not available to supervise. Crayola likewise recommends adult supervision for children using its documented Safety Scissors.
A low-fuss setup can make that practical:
- Use a seated table activity rather than cutting while standing, walking, or riding in a vehicle.
- Clear away unrelated toys, drinks, and loose clutter before bringing out scissors.
- Put out only the paper and craft items needed for the next few minutes.
- Keep a small bin, tray, or envelope nearby for paper scraps.
- Establish one carrying rule, such as placing scissors on the table before moving to another spot.
- End the activity when adult attention needs to shift elsewhere.
You do not need to make every art project entirely child-cut. Pre-cutting resistant pieces, opening packaging, or trimming tape can keep the child’s part of the activity focused on what they can do comfortably. Tearing paper is also a valid alternative for collages, cards, and sensory paper play.
Choose materials that do not make cutting harder than it needs to be
The materials can determine whether a pair feels usable. A child may be able to open and close scissors well but still be unable to cut a resistant material with that model. That is not necessarily a sign that they need to try harder.
Start with the materials named in the manufacturer’s instructions. The Crayola plastic-blade product documentation, for example, describes paper cutting. It should not be treated as a claim that those scissors will cut cardboard, felt, fabric, or other household materials.
Reserve thicker cardboard, difficult felt, and similarly resistant materials for the appropriate tool and user. EconoCrafts advises against asking children to force scissors through materials they cannot cut comfortably. For a home project, an adult can prepare those parts in advance, use a suitable adult tool away from the child, or redesign the activity around paper.
This approach can also reduce cleanup. A small stack of paper scraps is easier to sweep into a recycling bin than shredded packaging, fabric threads, or bits of thick material that have been repeatedly chewed by the blades.
Store, inspect, and replace scissors as part of the art routine
Scissor safety continues after the collage is finished. Build the last minute of cleanup into the activity: scraps into a bin, glue capped, scissors checked and put away.
Before use, EconoCrafts recommends checking that blades, handles, and the pivot are intact and that the scissors open and close properly. Do not use scissors with a loose pivot, cracked handle, broken blade, or movement that sticks unpredictably. Set them aside rather than trying to make them work for one more project.
When supervision ends, store scissors out of reach. A high cupboard, latched art supply box, or adult-managed drawer can work, depending on your household. The goal is not to make art supplies mysterious; it is to make scissors available as part of a supervised activity rather than as an unattended object.
For the next project, use a simple selection rule: choose the scissors whose manufacturer guidance fits your child and whose intended material is the paper or craft supply you actually plan to use. Then make the task smaller, easier, or more adult-supported whenever the tool stops being comfortable to manage.
Sources and research note
This guide uses manufacturer information for specific product features and age guidance, and general scissor-use guidance for setup and supervision. Product labels, warnings, recommended ages, and instructions can change by model and market, so check the exact package or manufacturer documentation before use.
- Children and Family Health Devon: Scissor skills, pre-scissor activities and types of scissors
- Crayola Canada: Crayola Safety Scissors
- EconoCrafts: Scissors for Kids—Sizes, Safety and Classroom Buying Guide
- LeapFrog: Is it safe to let my son use scissors?
- U.S. Consumer Product Safety Commission: Toy Safety Business Guidance